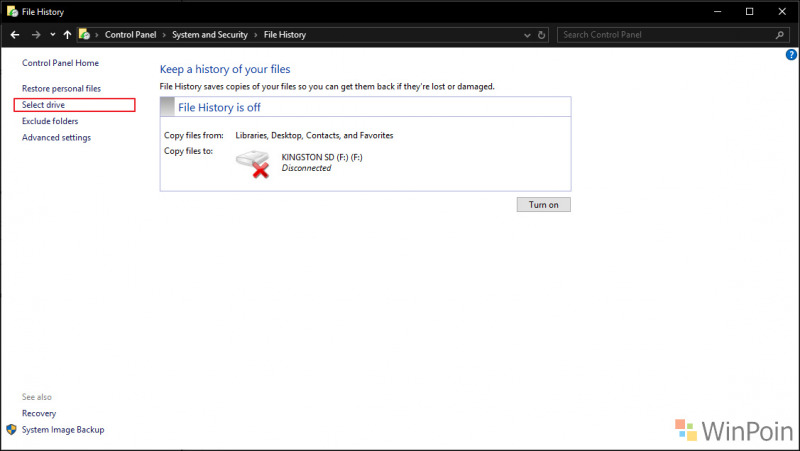
File History is one of the features legacy which is in the Control Panel, both in Windows 10 and Windows 11. Now this feature has an important ability that can secure user files directly, where the method is to copy all files to the External Drive that the user has specified.
So, how do you create a File History for the first time? because basically this feature is not active by default, it’s easy, here WinPoin shows you how.
Step 1. First open the Control Panel.
Step 2. Click on section System and Security > File History.

Step 3. Next, please first specify the Drive you want to make a storage place backup. Please click Select drive.
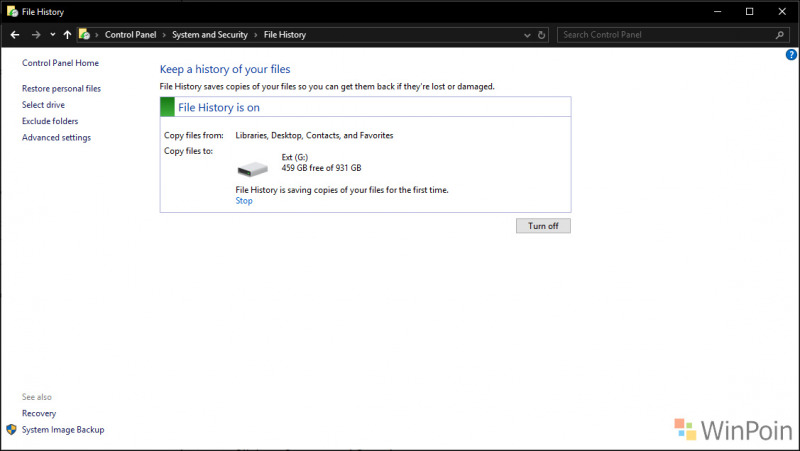
Next, select Drive, for example here I will use the Ext drive (G:), then click OK.

Click OK, and after that, make sure it looks like in the following image.
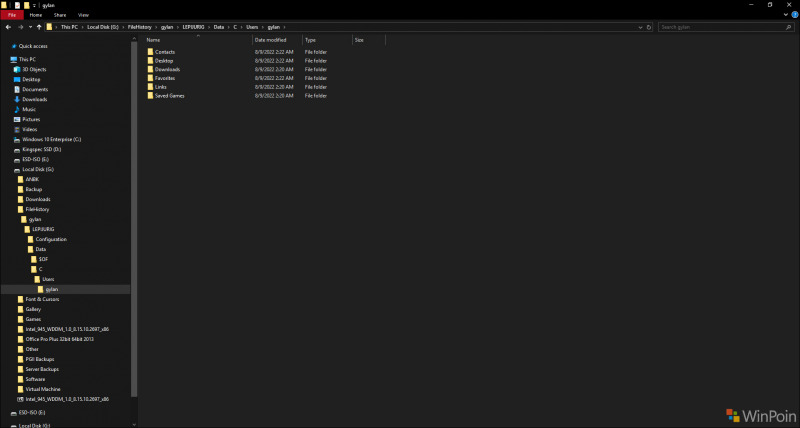
Now automatically all the folders in your account, more precisely in C:Usersusernamekamu, everything will be saved and backed up on the drive that you specified earlier. The folders that are backed up include: Document, Downloads, Pictures, and others.
Well, it’s easy, isn’t it, please try guys, you can also do the above steps and apply them in Windows 11, and I think this feature is quite important to guard against if your C Drive is Corrupt and there is a possibility of losing all the data in it.
Thank you, I hope this article is useful.
–

 – Society – The World – NOVA News")