
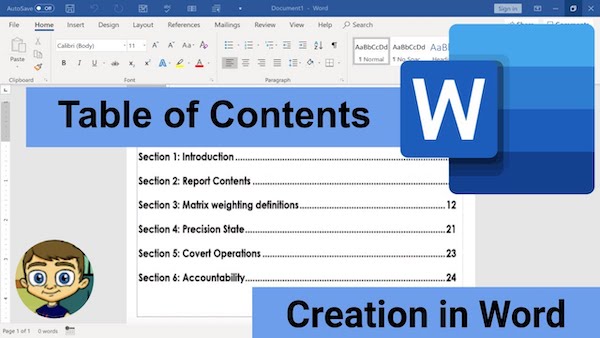
The table of contents is an important part of making scientific works such as theses, papers, journals, and so on. The page that contains the arrangement of titles and subtitles is usually placed after the title page. How to create an automatic table of contents in Word is now even easier and faster.
In the past, the table of contents was made manually and seemed complicated. Now you can make it easier by using the menus found in Microsoft Word. The result is neat and can be tweaked easily.
For those of you who want to know the steps for creating a table of contents automatically in Word, see the full review below.
Getting to Know the Functions of the Table of Contents
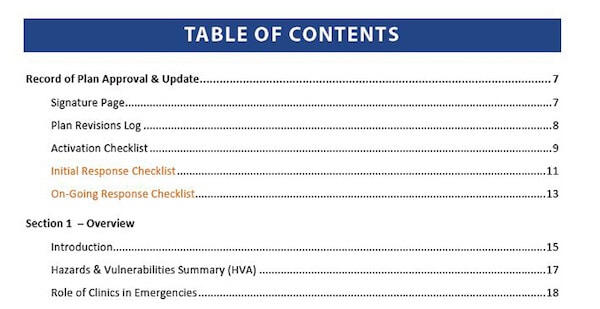
Why should this page not be missed in making scientific journals? The table of contents has several functions that make its existence very important in a scientific paper. One of them is to provide a comprehensive picture of the subject in an article.
In addition, the table of contents also makes it easier for readers to find the pages they want to read without the need to open pages one by one. Readers can also find out the completeness of a book by reading the table of contents page first.
Meanwhile, for writers, the existence of a table of contents makes it easy to find information related to writing and to find out the number of pages in scientific journals. Scientific works that are equipped with a table of contents also seem professional because they are made more systematically.
Disadvantages of Creating a Table of Contents Manually
There are still many writers who create a table of contents manually because they don’t know how to create an automatic table of contents in Word. For those of you who want to make a scientific journal or book, you should avoid creating a table of contents manually. It has many weaknesses, including:
- Takes a lot of time so that the process of making scientific papers and books will take longer
- The results can be inappropriate, especially if the manufacturing process is done in a hurry
- The author has to compile the outline manually and look at the many pages one by one
- If there is an error, the author must rearrange the outline of the table of contents
You can avoid this complicated and time-consuming thing by using the features contained in word. Actually, this feature has been around for a long time and is available in all versions of Microsoft Word, both old and new. It’s just that not many know how to make it.
Advantages of Creating a Table of Contents Automatically
If you often use Word for various activities including the creation of scientific journals and reports, you should take advantage of the available features. One of the features is to create a table of contents automatically. There are many advantages offered. including:
- It saves time and can be done in a short time. This is because the author does not see pages one by one so that the creation of a table of contents is much faster
- The table of contents has become neater, making it easier for readers to find pages and understand the material presented in scientific papers
That’s why you need to know how to create an automatic table of contents in Word so that the preparation of scientific papers or books becomes easier and the reader feels comfortable when reading the table of contents.
11 Simple Steps to Create an Automated Table of Contents in Microsoft Word

The following are the steps for creating a table of contents in Word. Among others are:
1. Opening Documents Through Microsoft Word Program
We recommend that the table of contents page is made at the last stage so that you don’t make frequent edits due to page shifts. If you have created a complete document, just open it using Microsoft Word to make it easier to create a table of contents page.
2. Blocking Titles and Sub-Titles That Have Been Made
To block titles and subtitles, the steps are quite easy, namely by clicking 3 times on the title or subtitle section. Or it could be by doing a select. Block all existing subtitles.
3. Choose the Heading Type on the Home Tab
There are many heading options available. Select Heading 1 for the title section. Then for subtitles select Heading 2, and for subtitles below it you can choose Heading 3, and so on.
4. Choose a Heading Style
The next way to create an automatic table of contents in Word is to select a heading style by right-clicking the selected heading and then clicking “Modify”. Edit the Heading style by changing the font type, font size, and other settings.
5. Blocking All Titles and Subheadings in Documents
In one scientific report or journal, there are several titles with different delivery of material. If you have blocked titles and subtitles at the beginning. Repeat these steps for other titles and subtitles.
Don’t forget to choose the heading that is used because it will affect the order of the table of contents. If a title is missed, it will not appear in the table of contents automatically. That’s why do how to create an automatic table of contents in Word carefully and thoroughly.
6. Adding a blank page to create a table of contents
The table of contents page is usually placed at the front before the document page. If you have added a table of contents page, then you can skip this step. But if not, add a page by selecting the “Insert” menu and then clicking the “Blank Page” section.
After clicking, a new page will automatically appear in the document that has been created. Then just type in the title. For example, like the Table of Contents.
7. Entering Table of Contents Automatically
To create a table of contents automatically the steps are very easy. Just go to the “References” menu then click “Table of Contents” which is located in the upper left corner of the page.
8. Choose the Type of Table of Contents
After you click the “Table of Contents” menu, several options for the type of table of contents that can be used will appear. Starting from Automatic Table 1 to Manual Table. We recommend that you choose Automatic Table 1 or 2 to facilitate the preparation of the table of contents later.
9. Select the Update Table menu if you want to make changes
If at any time the document you make changes, it is necessary to edit it to adjust the page to the table of contents. How to change the table of contents is quite simple by selecting the “Update Table” menu in the upper left box of the table of contents.
There are two options available, namely update entire table to update all sections of the table of contents and update page number only if you want to change page numbers only.
10. Format the Table of Contents according to the Document
When the table of contents page has been created, the next step is to adjust the table of contents to the format of the text on the document. For example, by changing the font type, spacing, font size, and so on. That way the table of contents will look neater and easier to read.
11. Save Documents
The final step of how to create an automatic table of contents in Word is saving the document. The trick is to just select the “Save” icon located in the upper left corner or you can also press Ctrl + S.
How to create an automatic table of contents in Word mentioned above can be done easily and quickly. Not only shortening the time of document creation, the results are also neater so that readers can get information more easily.
–

