It’s been a while now that you haven’t had access to activity status, comments, messages, etc. an Instagram profile you follow? Wondering if the account holder has restricted you? It is possible that this is the case. But to be sure, you’ll have to check it out for yourself. You will find in this tutorial some simple and easy to apply methods that will allow you to know if this Instagram user has restricted you or not.
Create a new Instagram account: the first step to find out if someone has restricted us
The best way to find out if someone has restricted you on Instagram is to verify with another account. You can use that of a relative or an acquaintance who also follows the user whom you suspect of having limited you in accessing his account.
Otherwise, you have a second, more convenient and hassle-free option. This involves creating a new Instagram account for verification purposes. To go quickly in the creation process, follow the steps below.
Step 1: Add an Instagram account
To create the account with which you will verify, you do not need to log out of Instagram. Indeed, your current account is already open in the social network, you simply have to add the new account to the application.
- To do this, you first need to access the social application. Once on the Instagram home page, i.e. the one dedicated to your news feed, head to the lower right corner. There you will find the icon of your profile picture, make a long press on it.
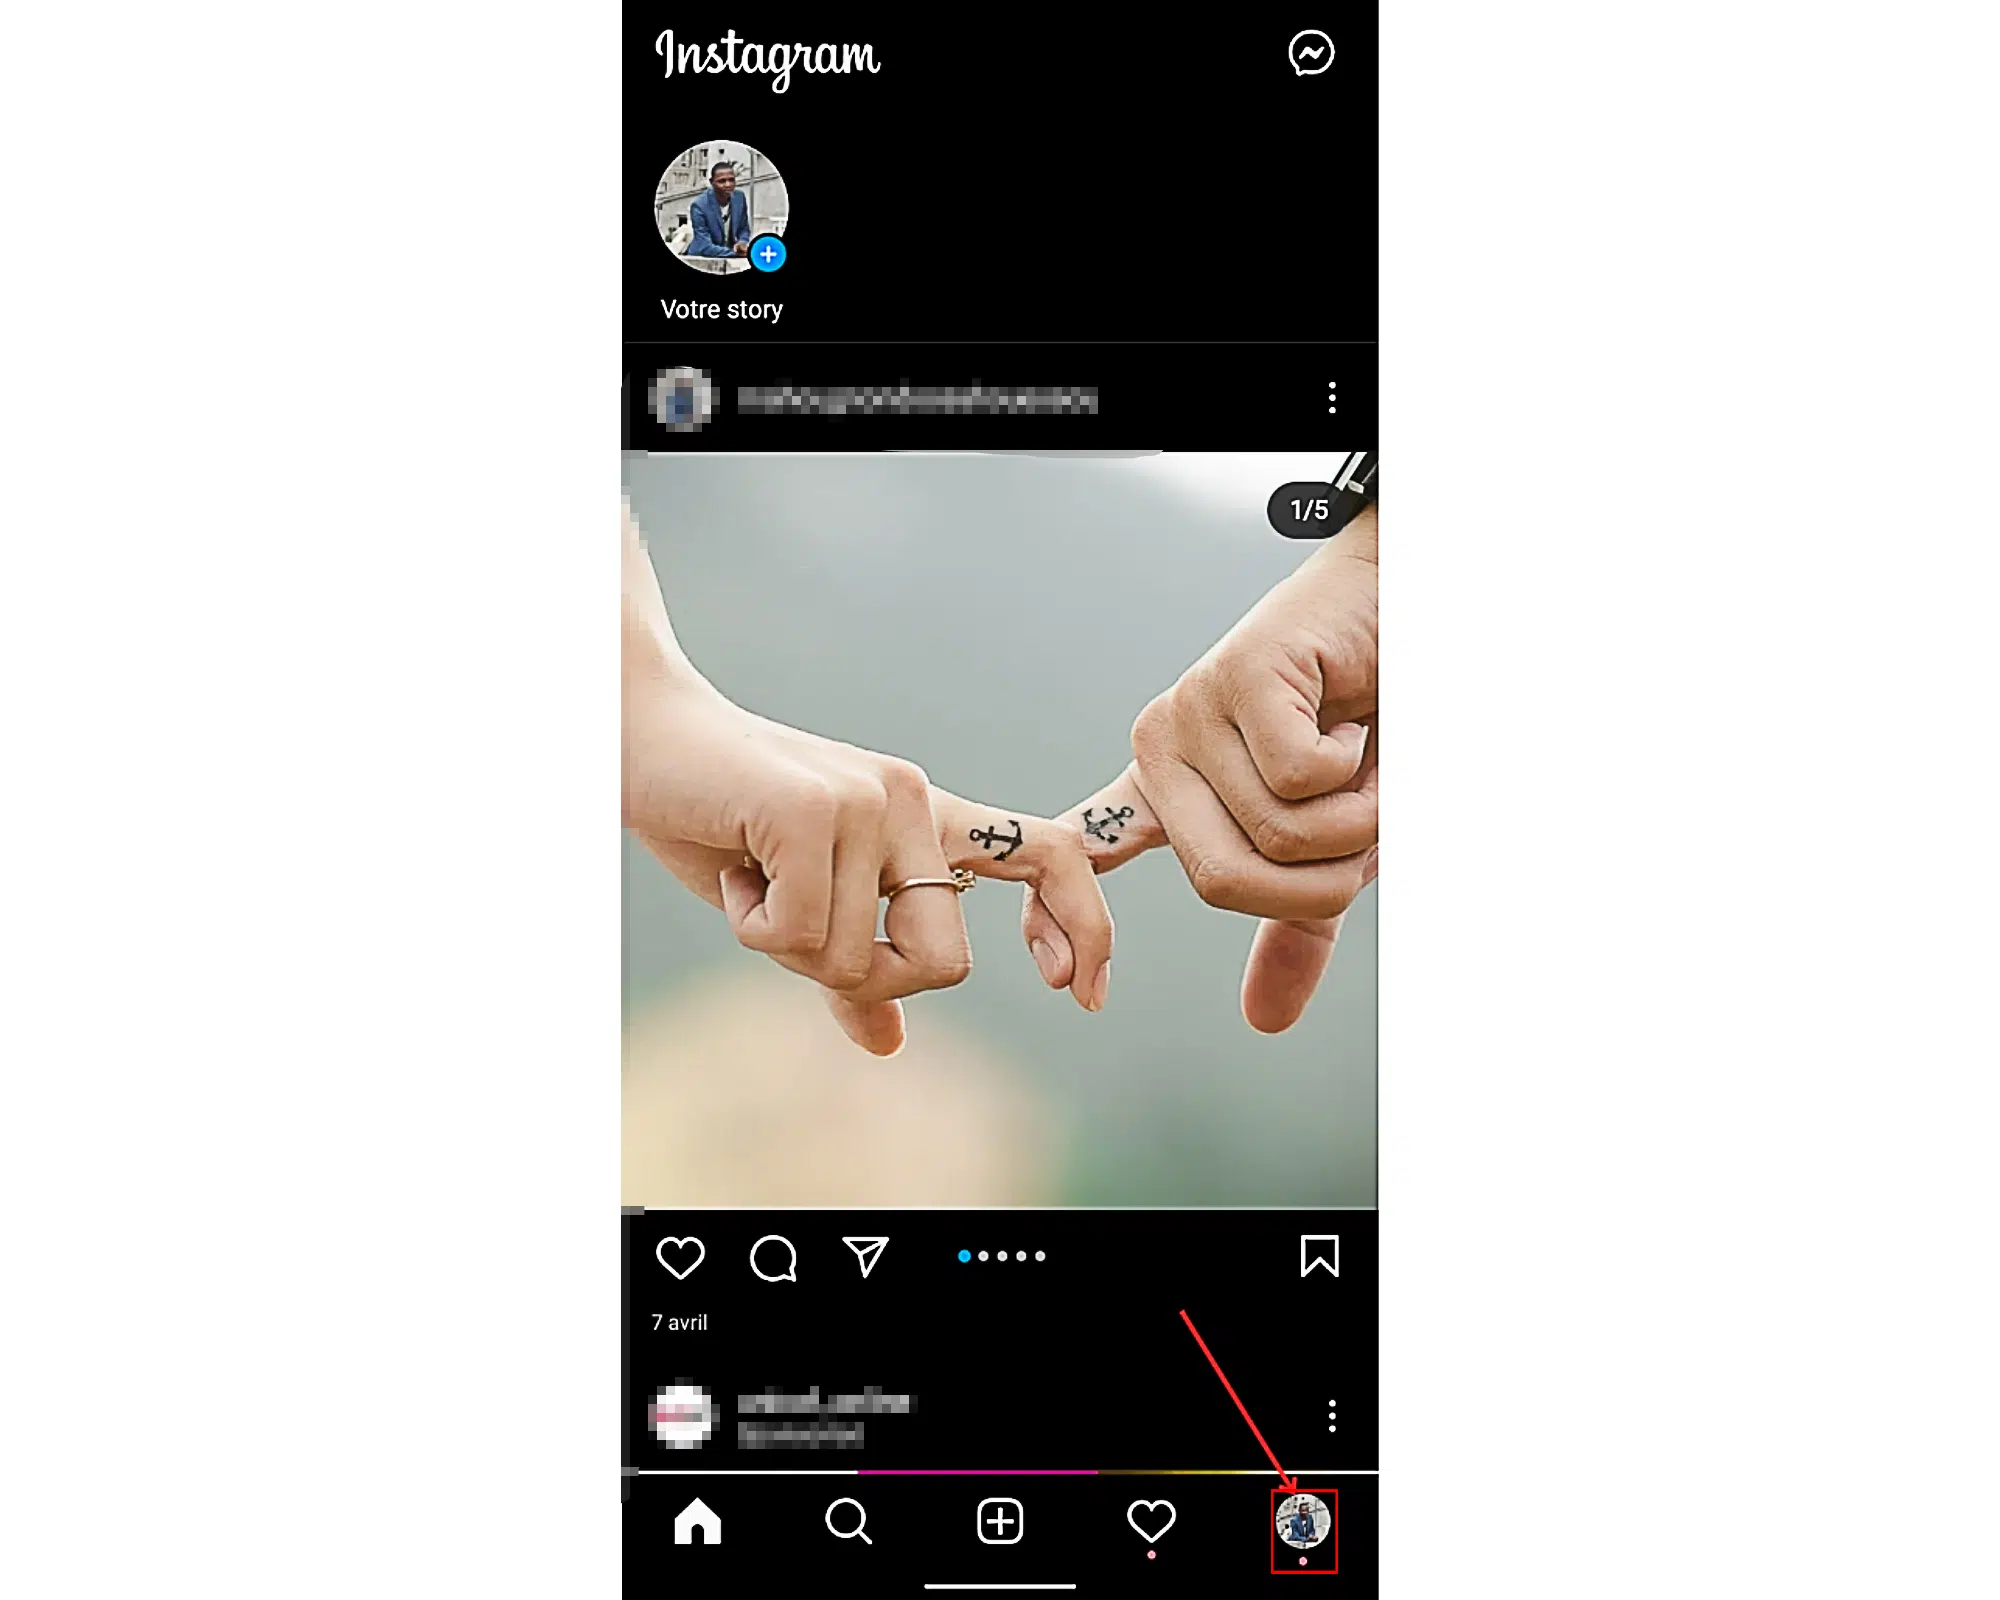
- Your username should now appear in the pop up which just appeared in the lower section of the screen. Just below the latter is an option “ Add a new account“. Tap it to go to the next step.

Step 2: Create the verification account
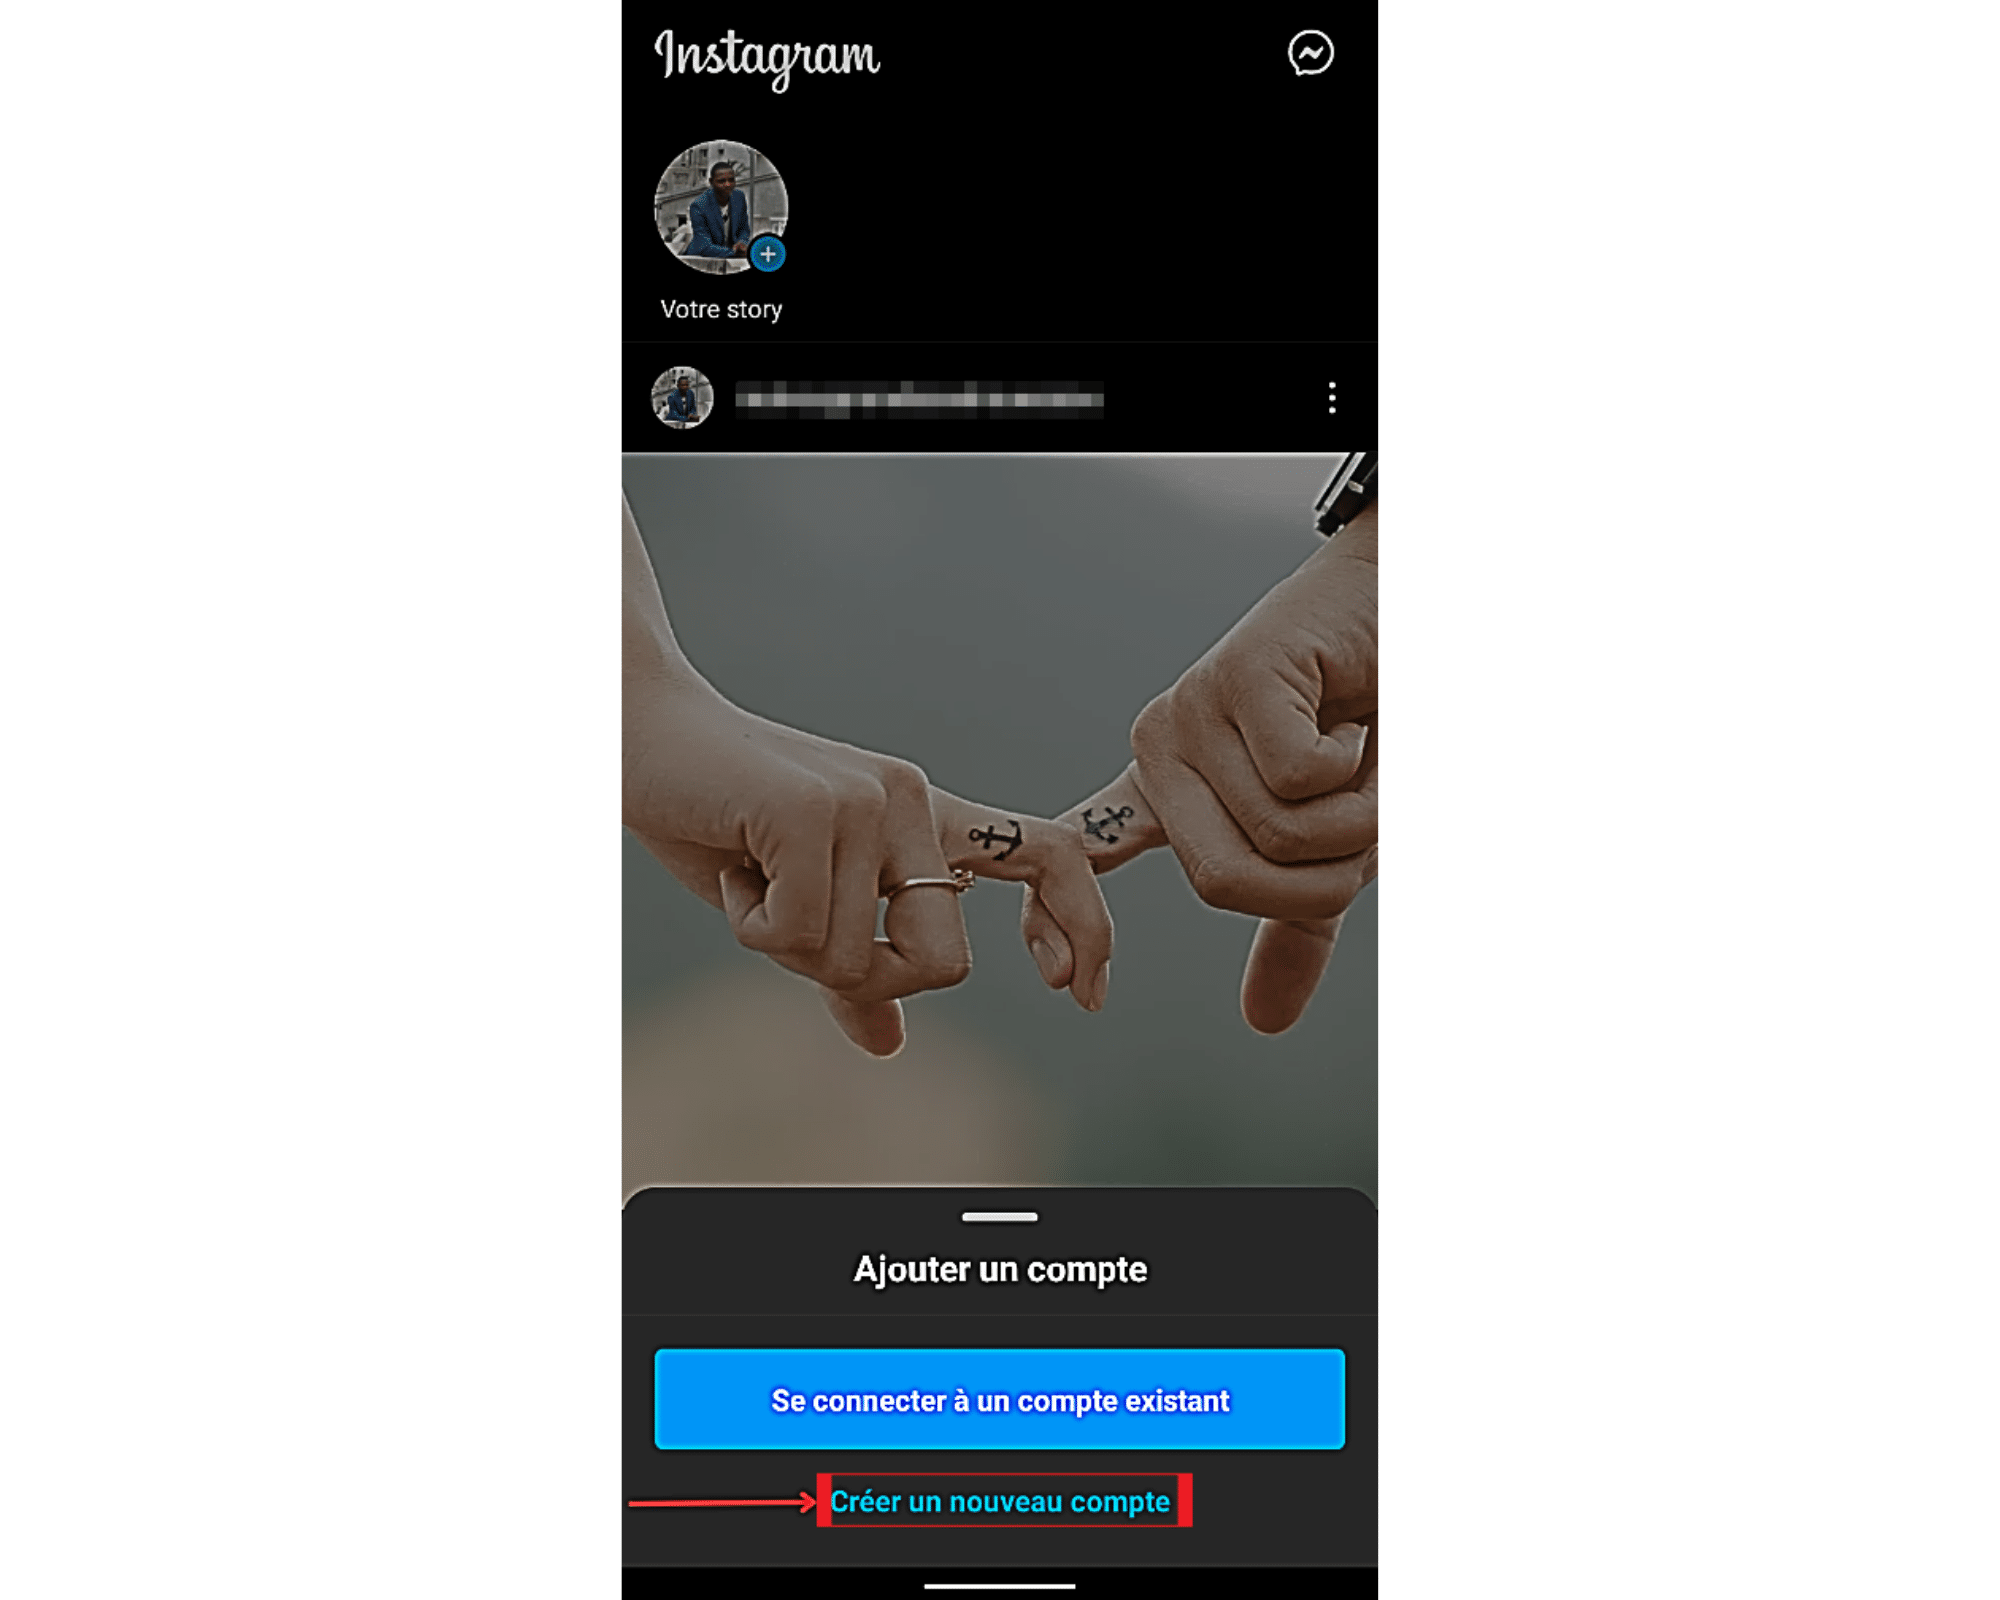
After selecting ” Add an account », you will be offered two new options. It is ” Log in to an existing account » et « Create a new account “. Choose the second option to create the account dedicated to verification.
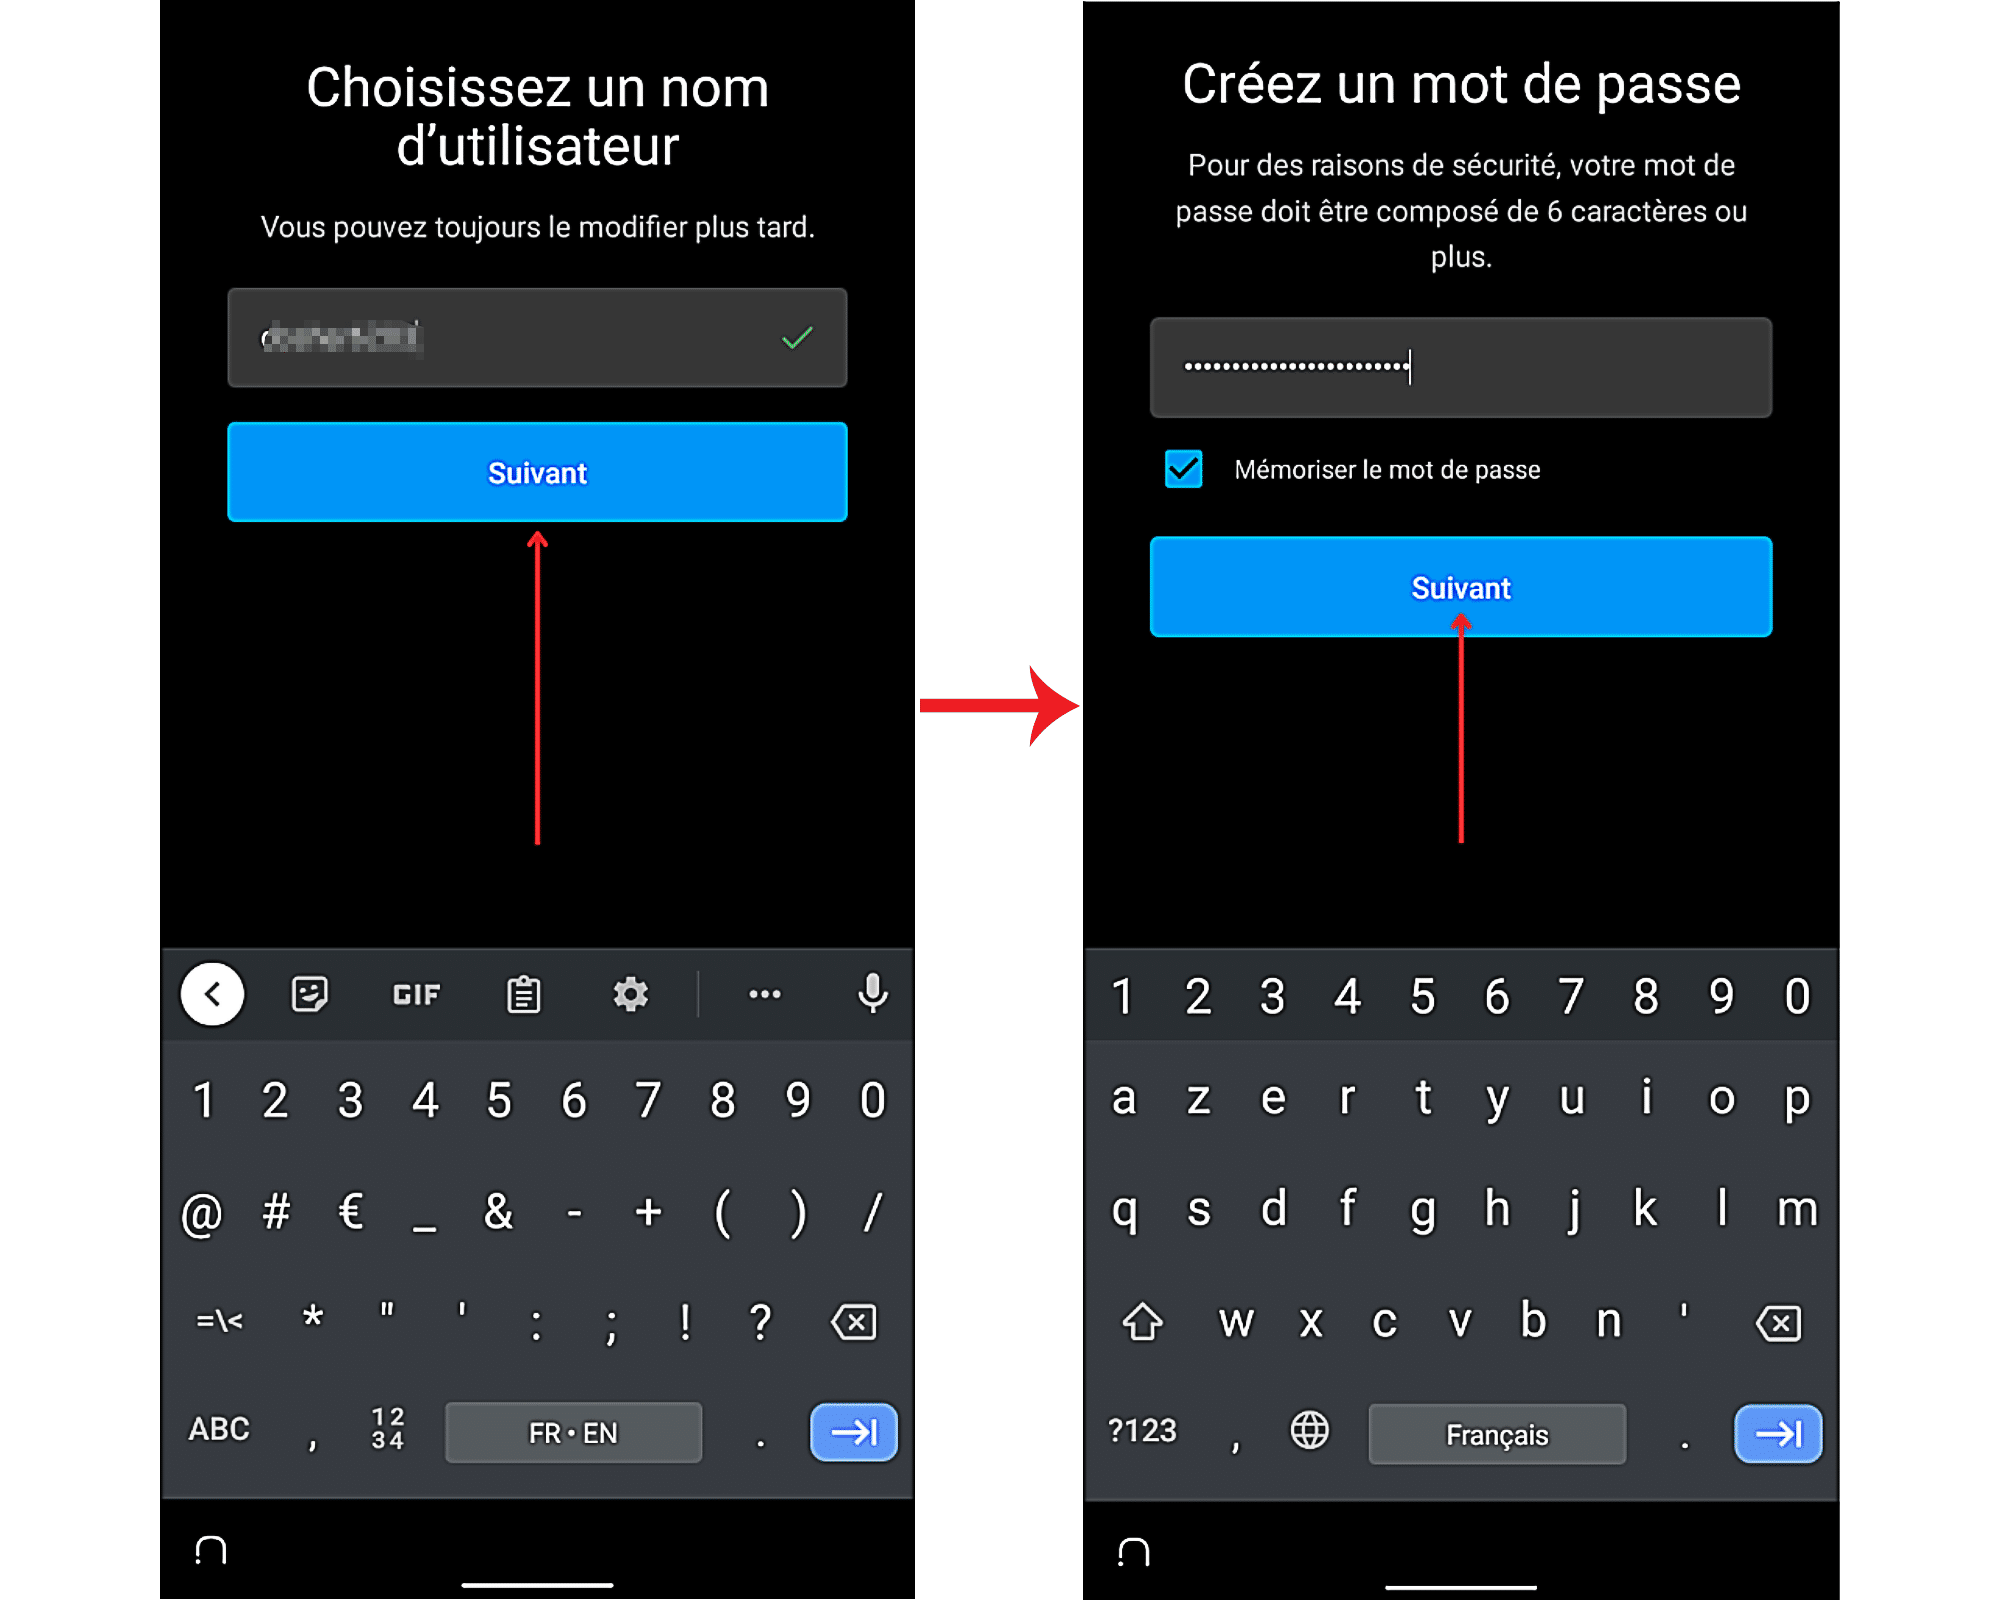
- Choose a new username and password. It’s best to provide a nickname that the user who may have restricted you doesn’t know. This is just in case you need to subscribe to their profile with your new account, to complete this verification.
- You can also add your phone number or email address to secure this new profile.
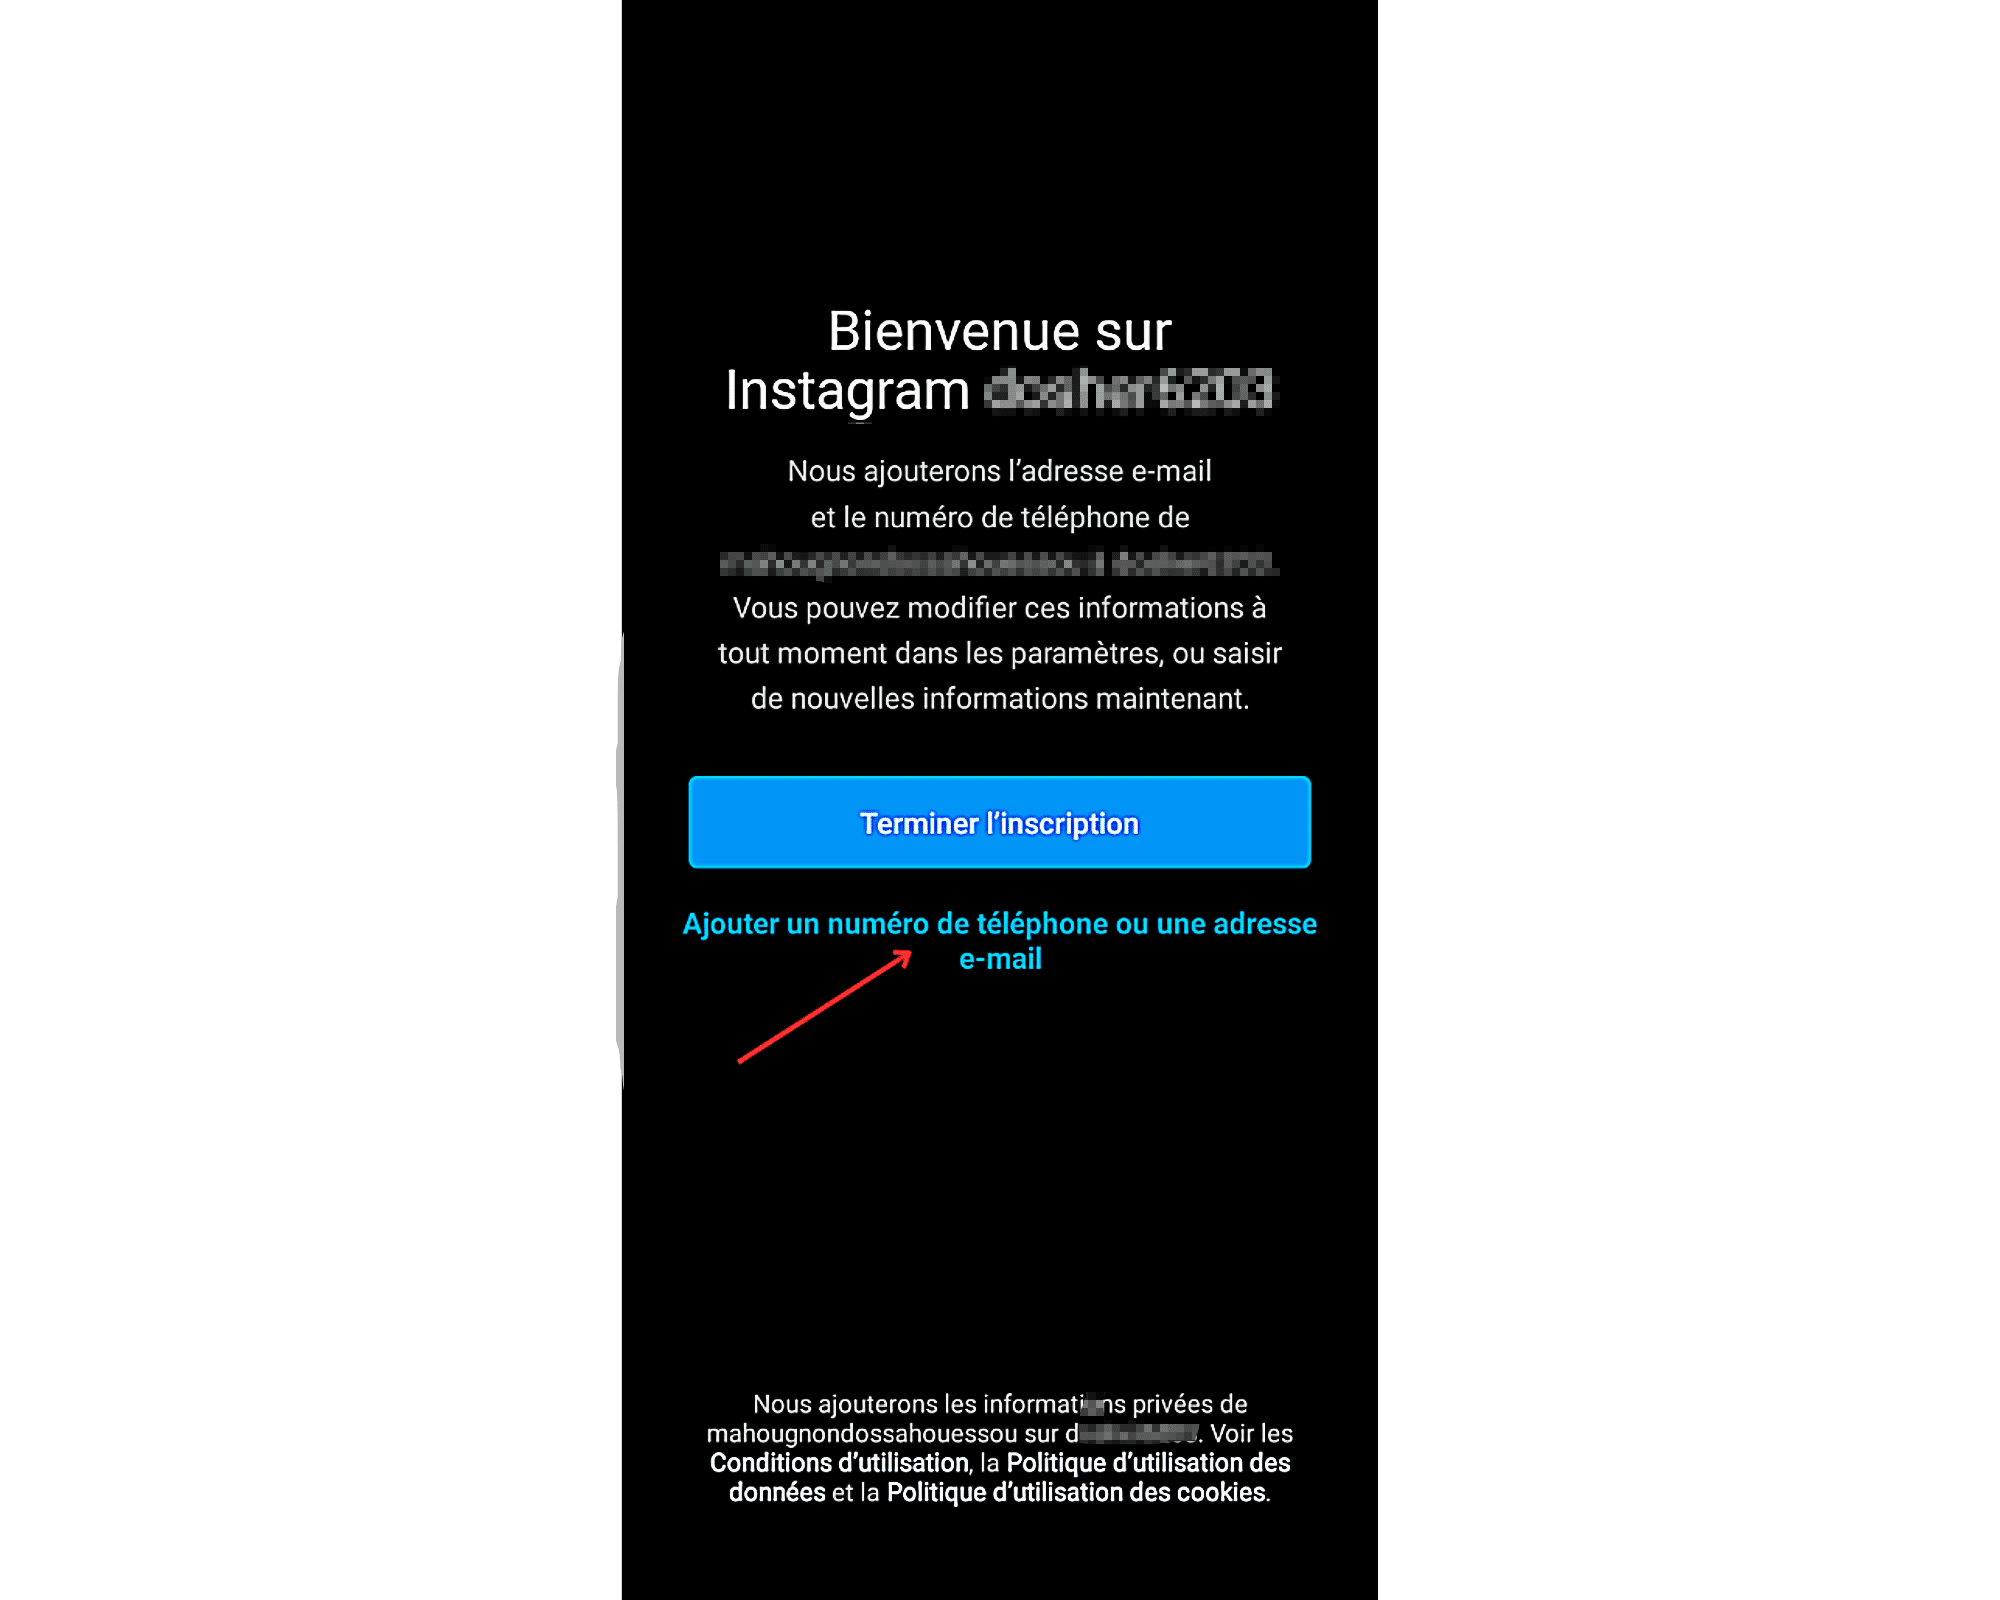
- Once the various required fields have been completed, complete your registration.
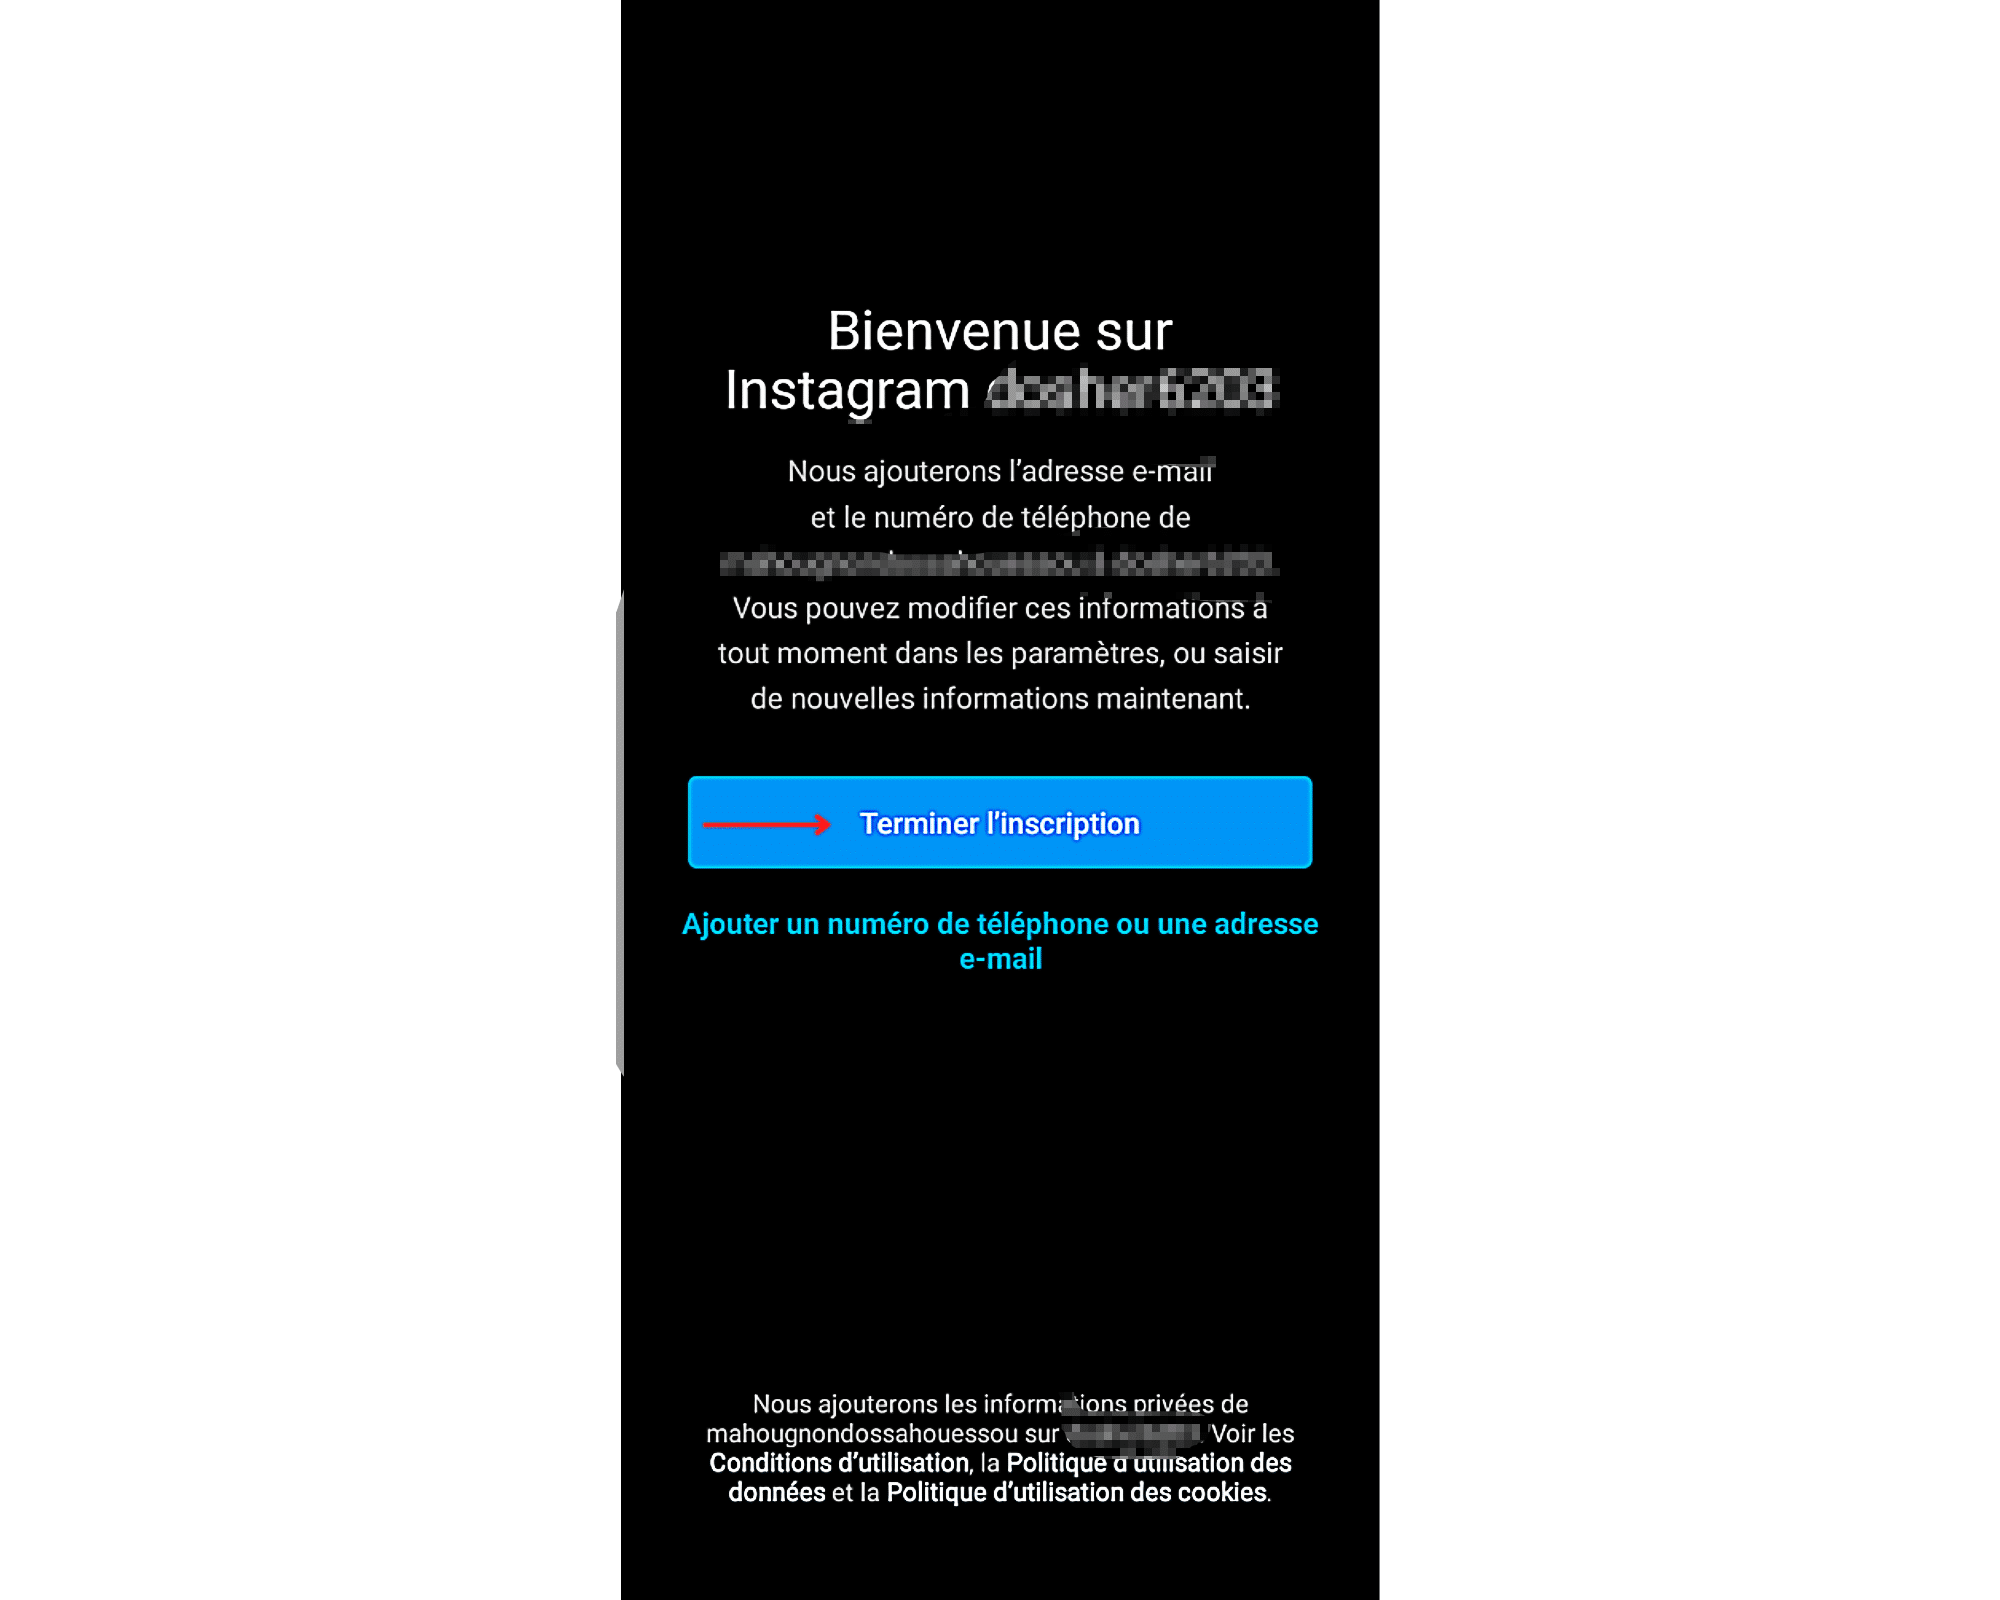
Step 3: Connect your Facebook account to find your friends
After completing your registration, a new page will appear. On it, you will be asked to connect your Facebook account to retrieve the contacts. But be aware that this step is not mandatory. You can therefore ignore it. If so, you will only have to search Instagram later for the profile you want to verify. After all, that’s the only purpose you created this profile for.
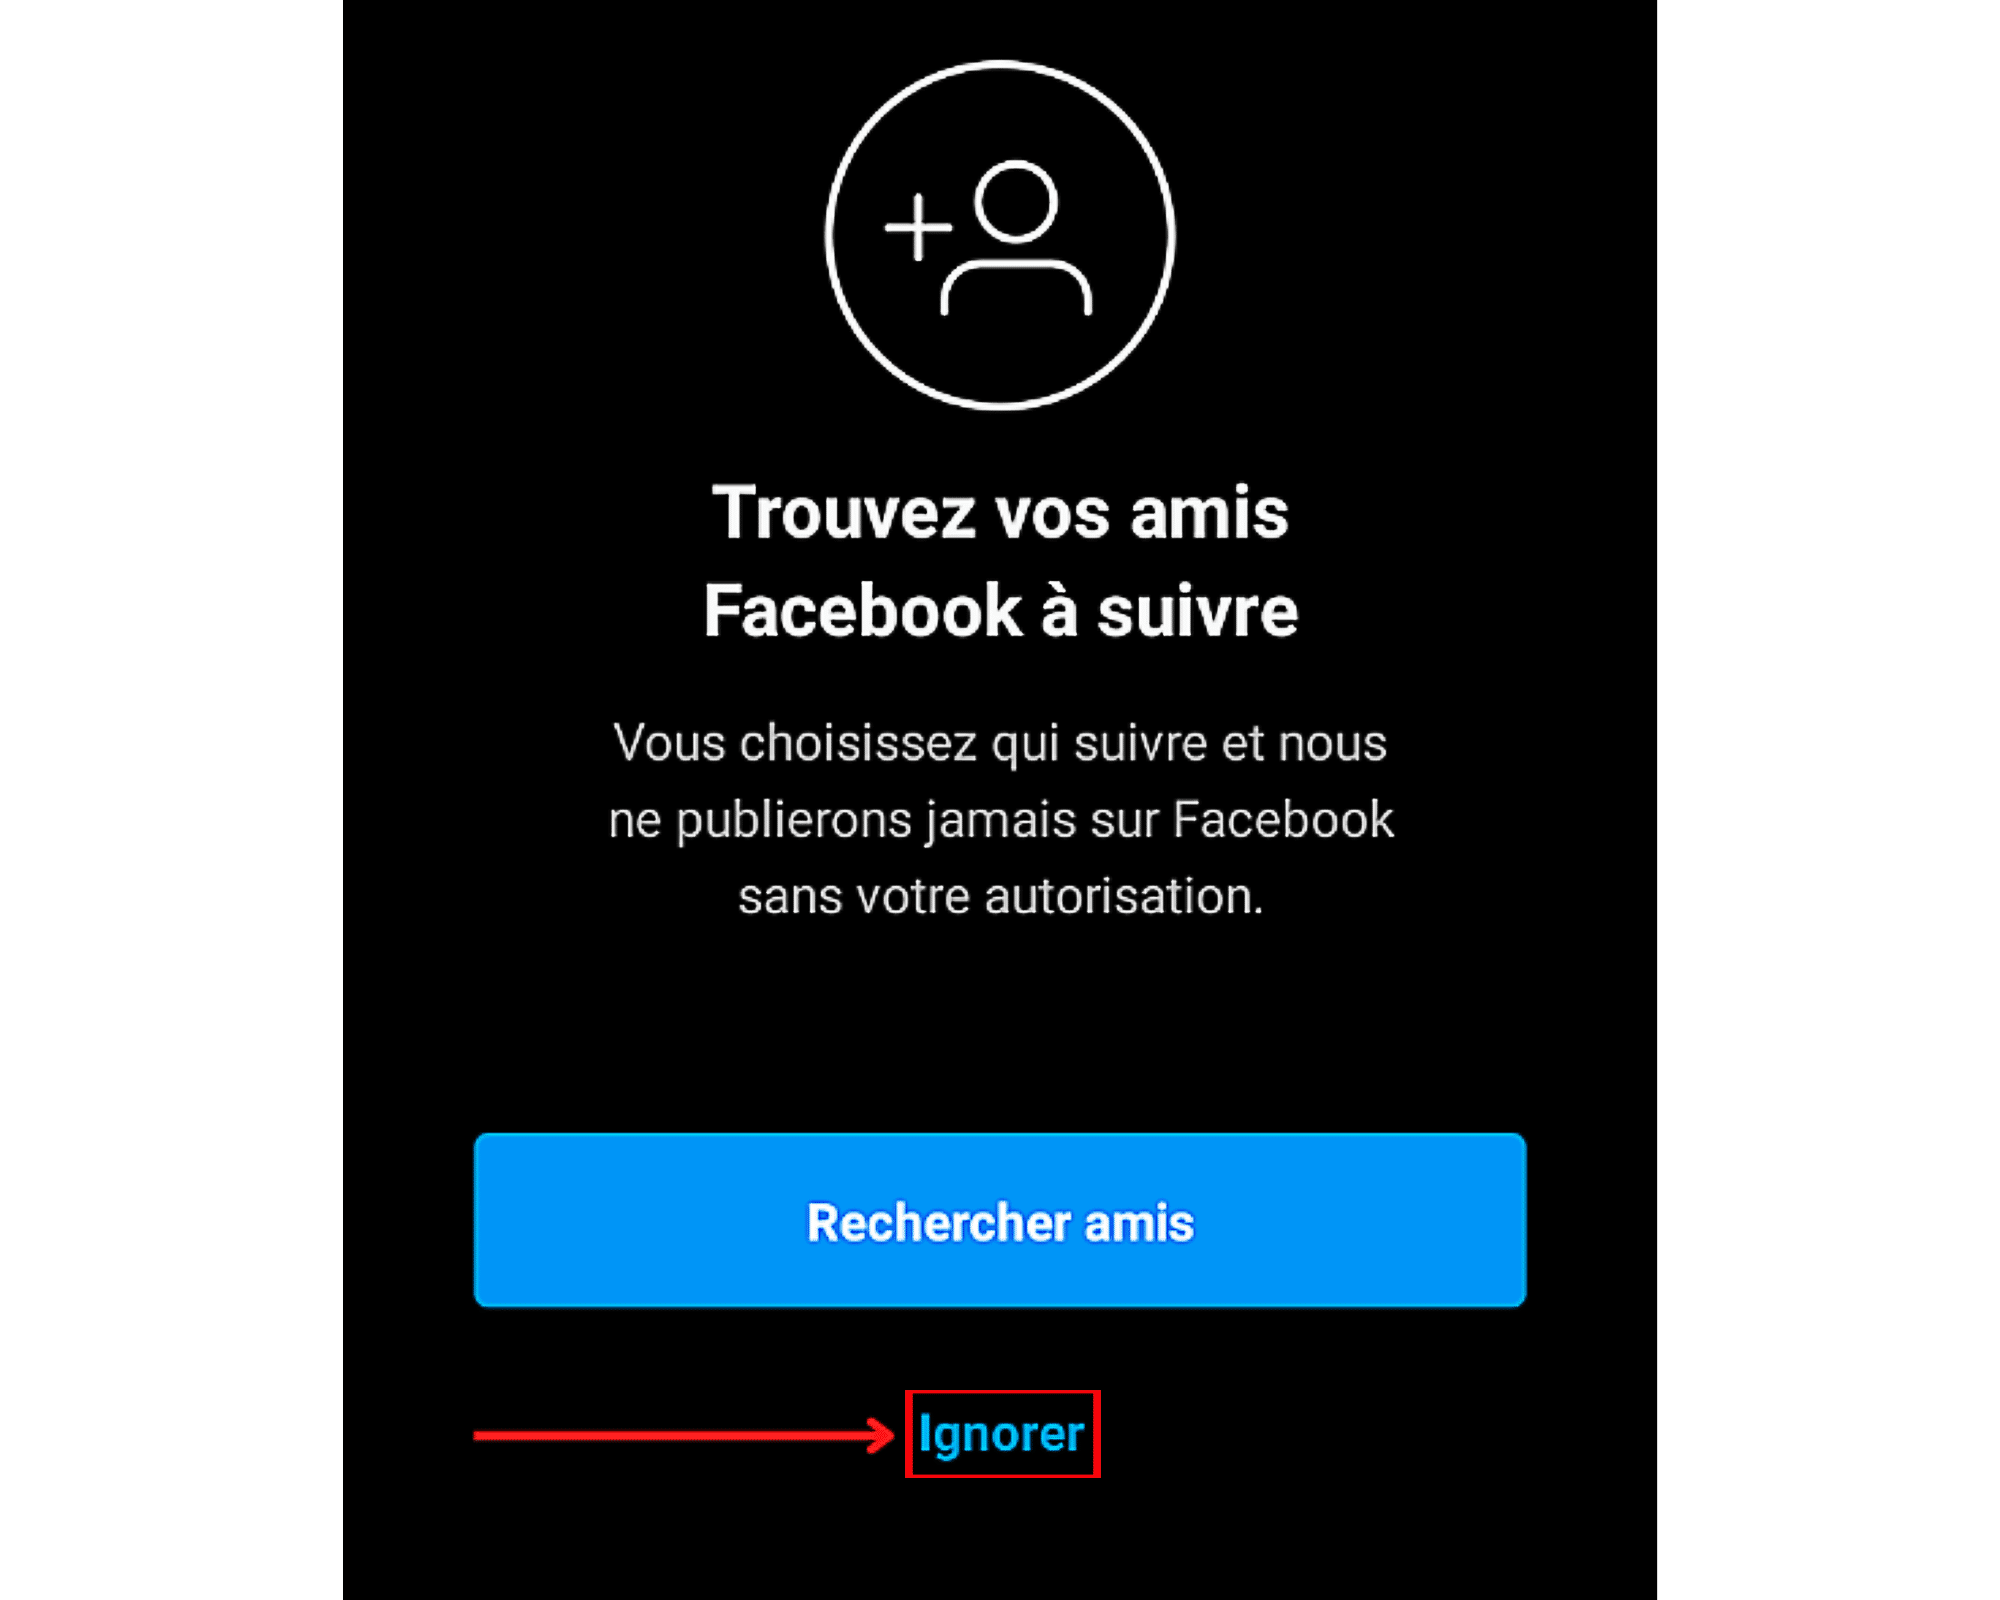
Method 1: Check comments with the new account
Now that you have a new Instagram account, you can start the actual verification. Many possibilities are available to you. The first is to find the comments you left on their profile with your official account.
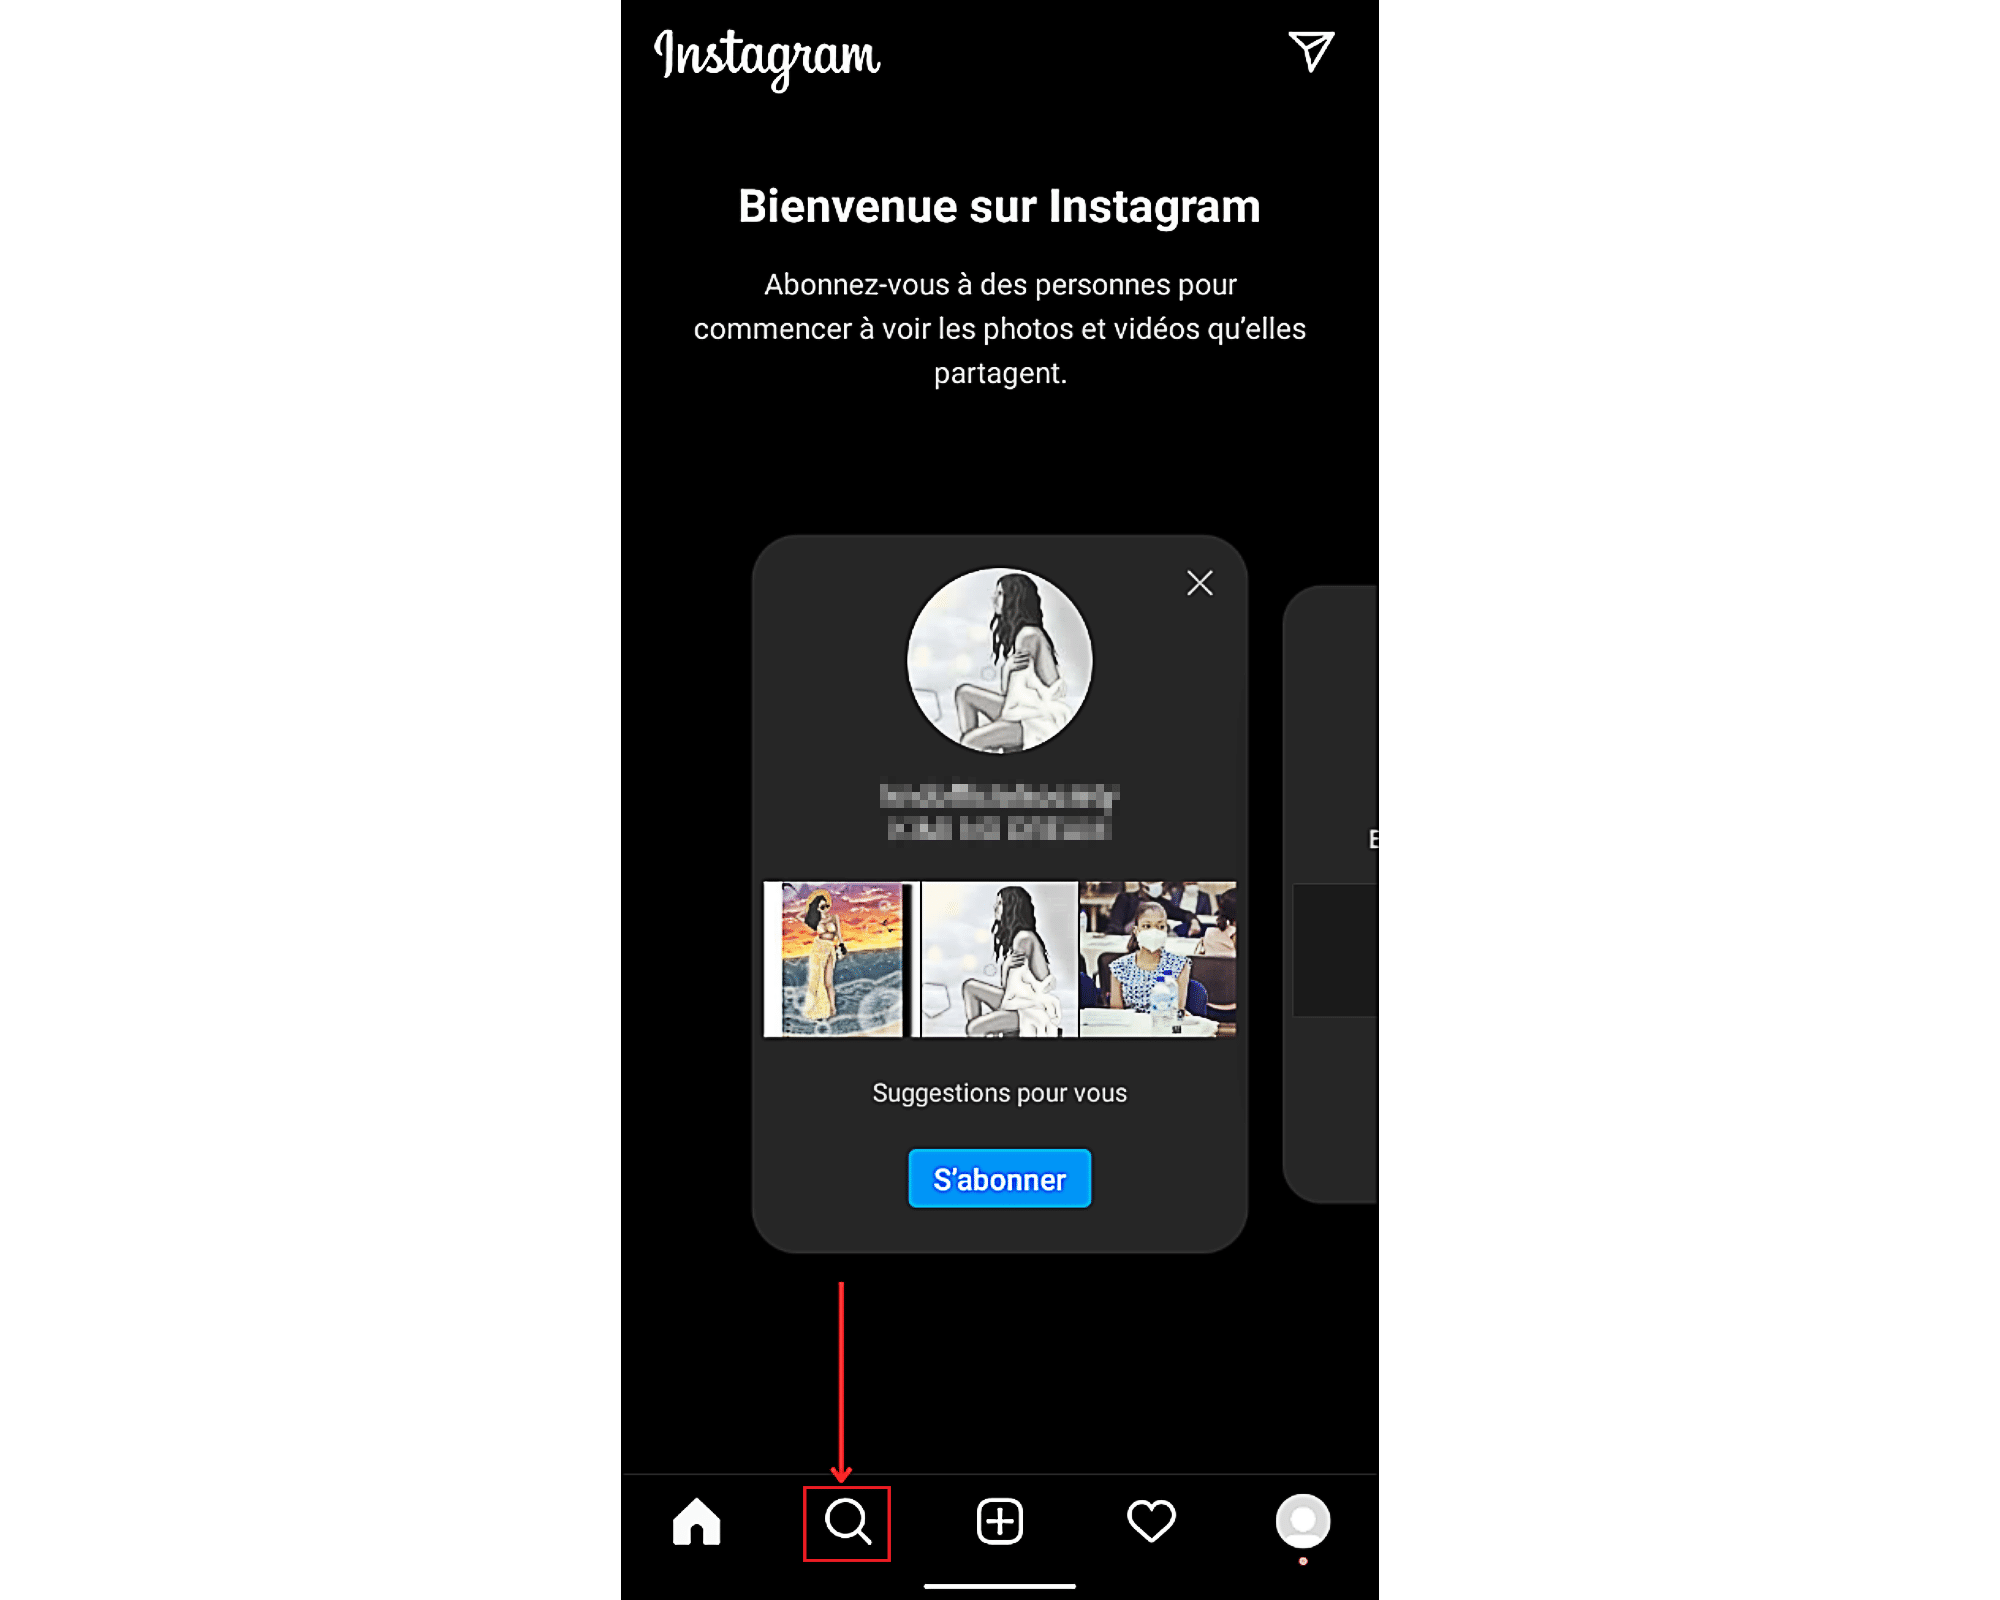
- To do this, you must first access the profile of the user you suspect has restricted you. Type his username in your search bar, then validate. To use this Instagram feature, click on the magnifying glass in the menu bar at the bottom of your screen.
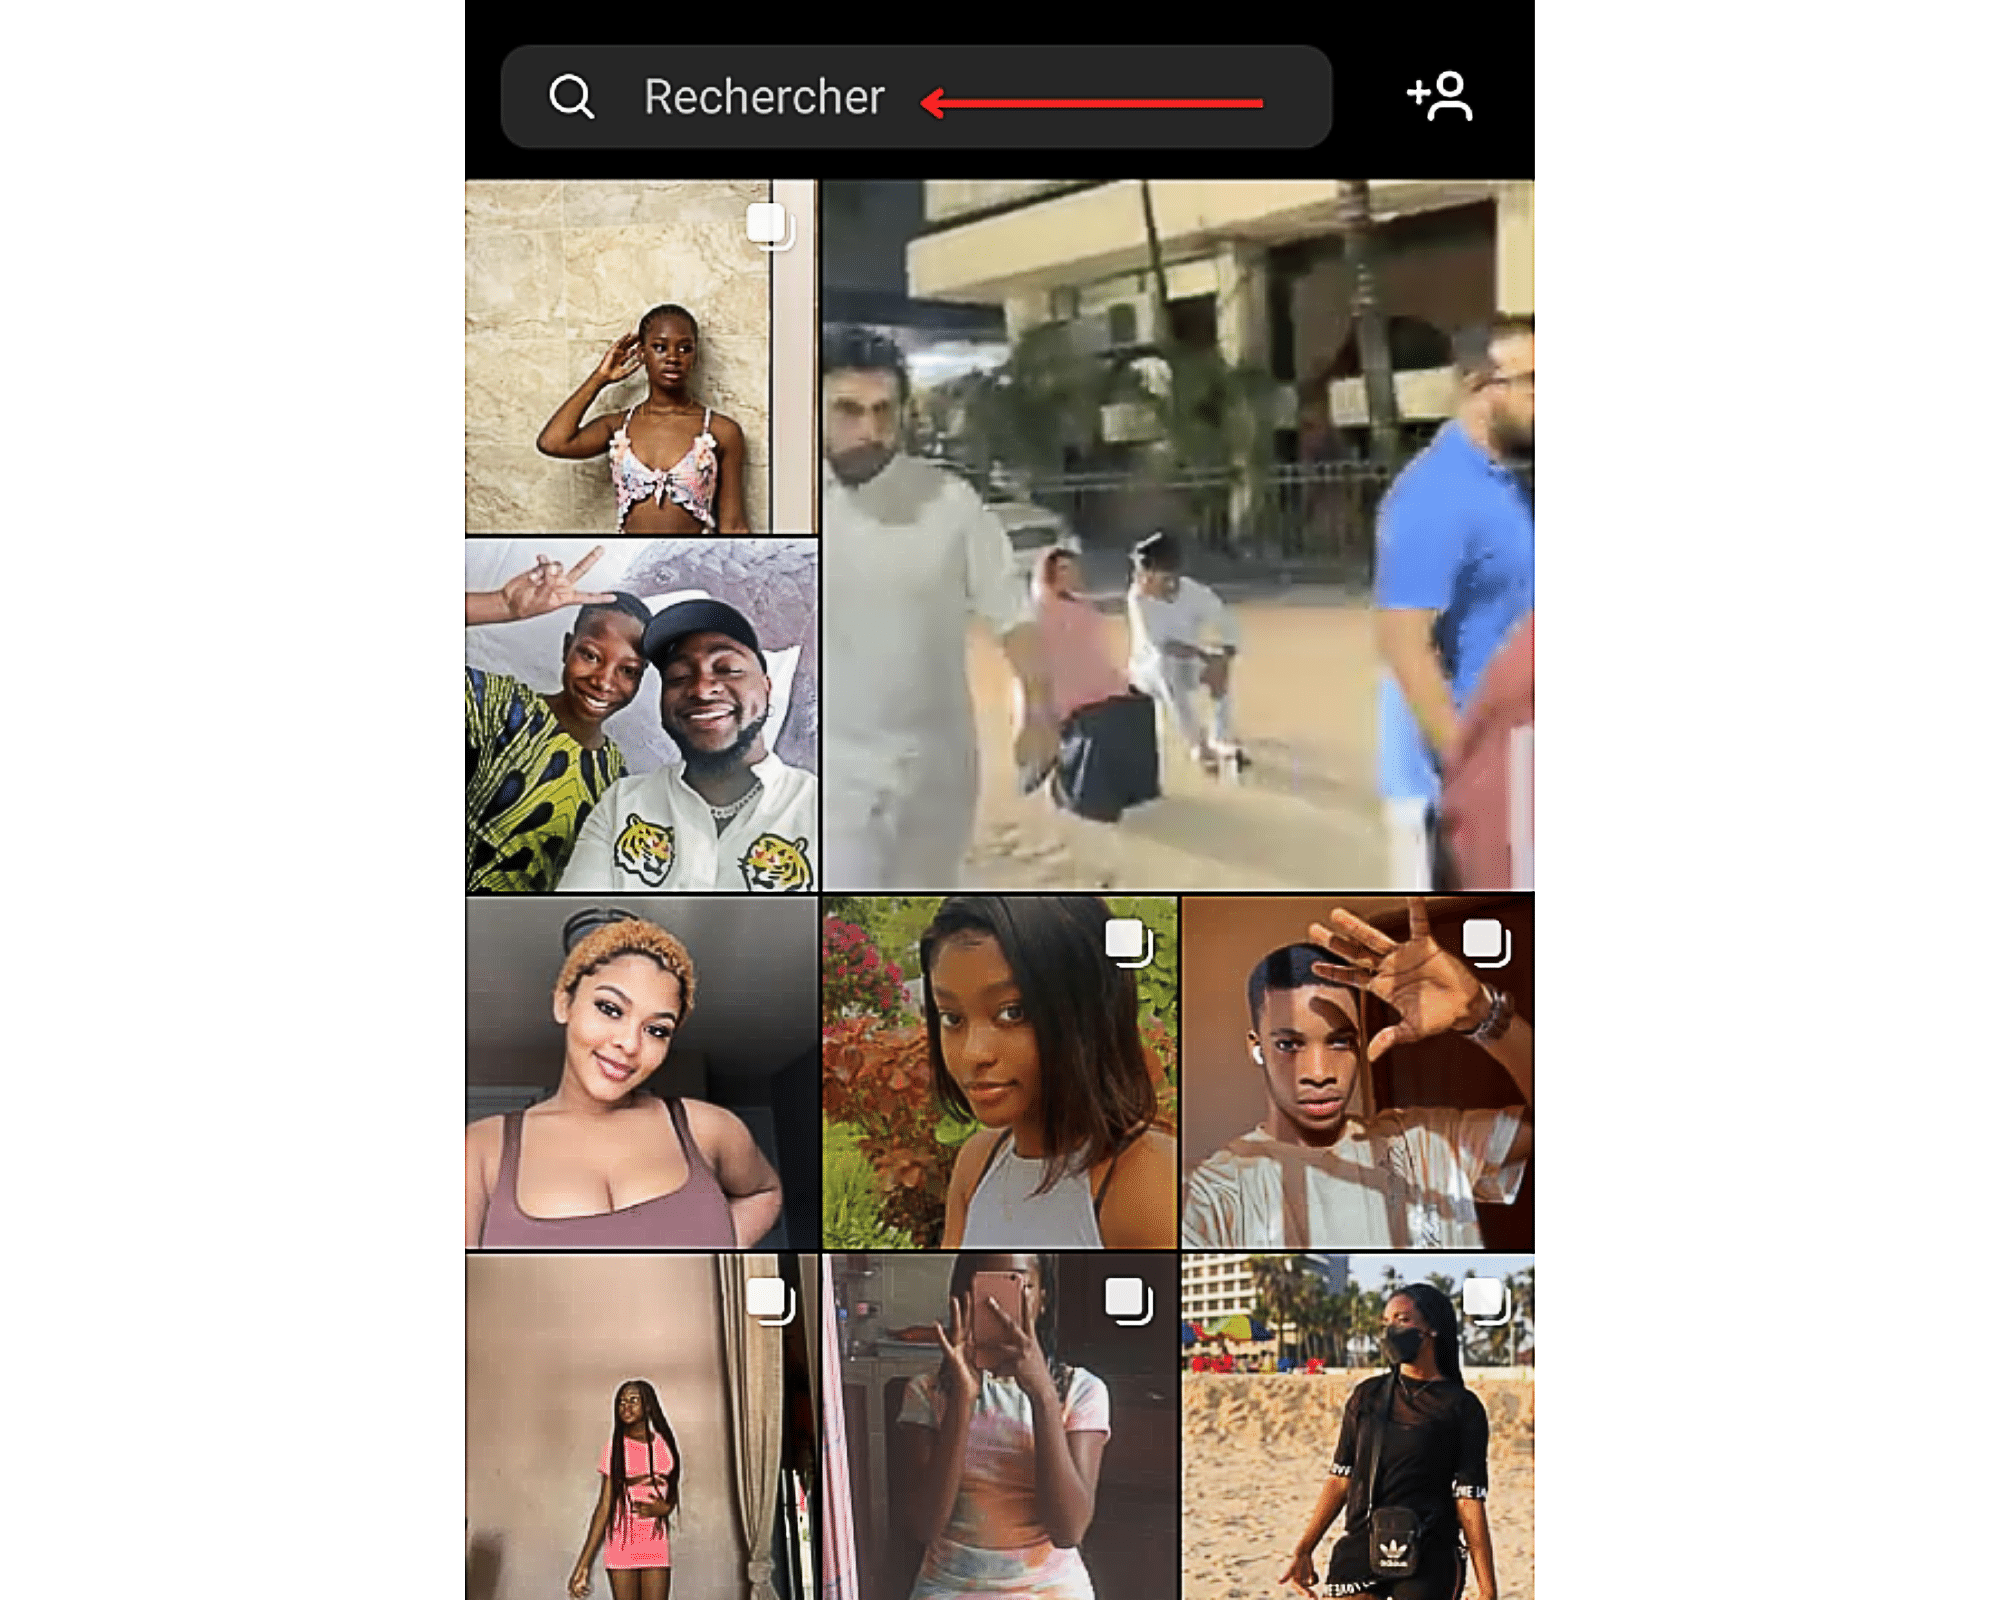
Then, touch the ” To research to bring up the virtual keyboard and enter the name of the suspected user.
Then choose the profile concerned from the list of results.
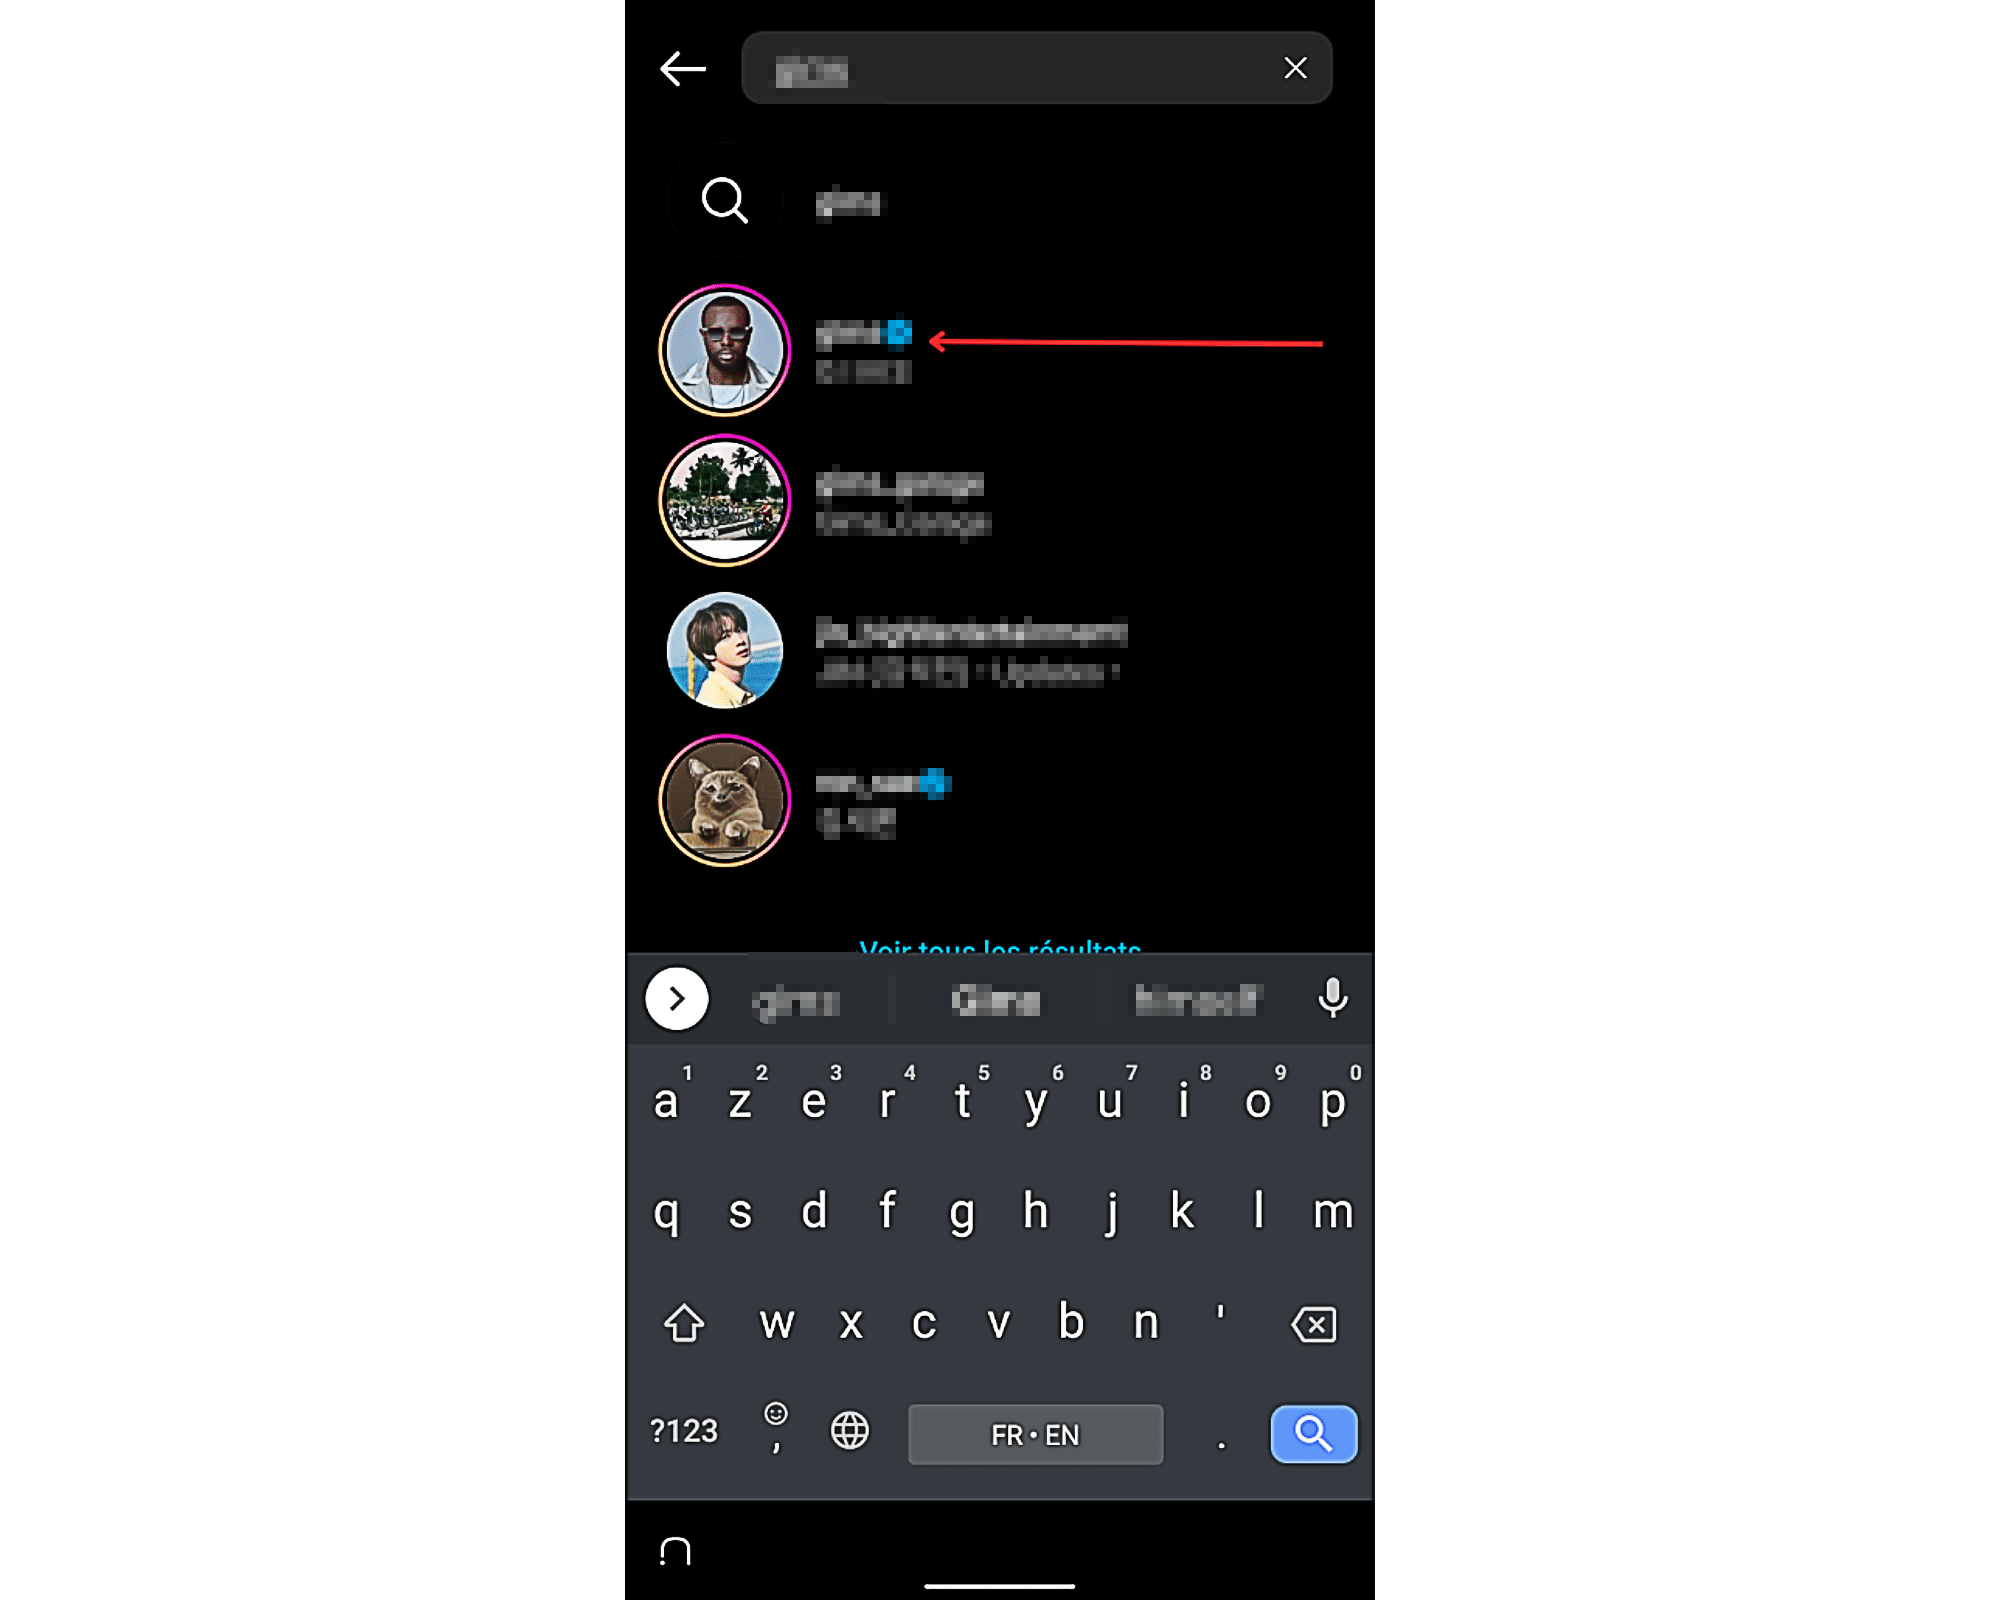
- Having done this, go through his publications and secondly select the one concerned.
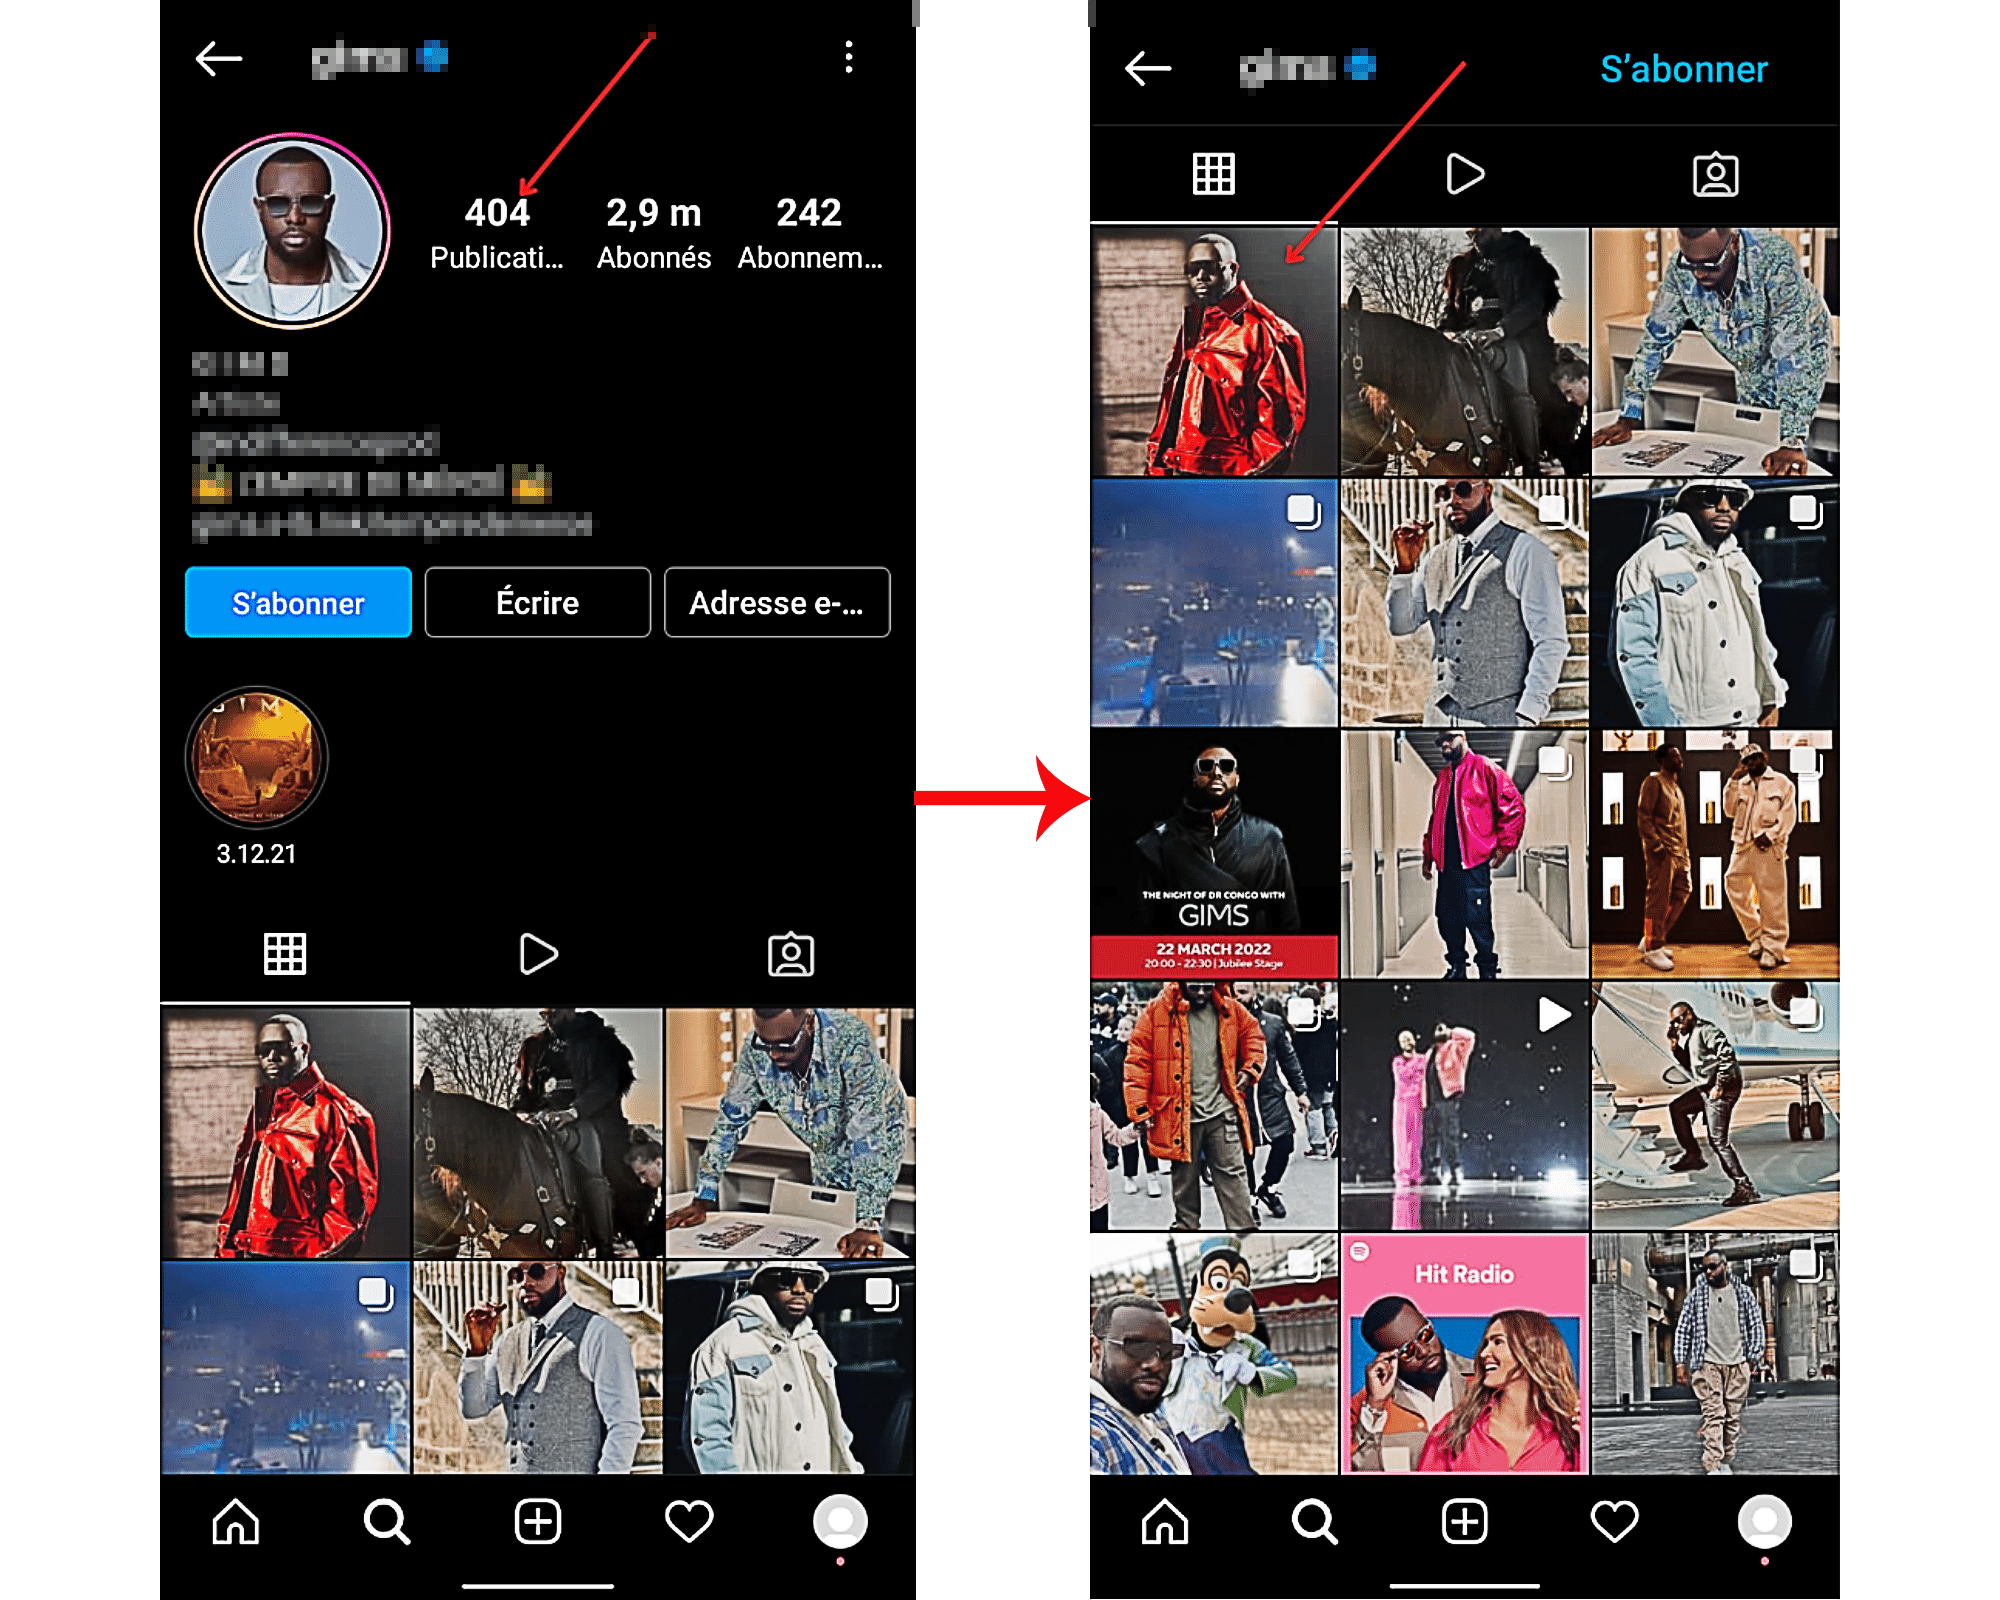
Click on ” View comments or the text that accompanies the visual to access the comments section.
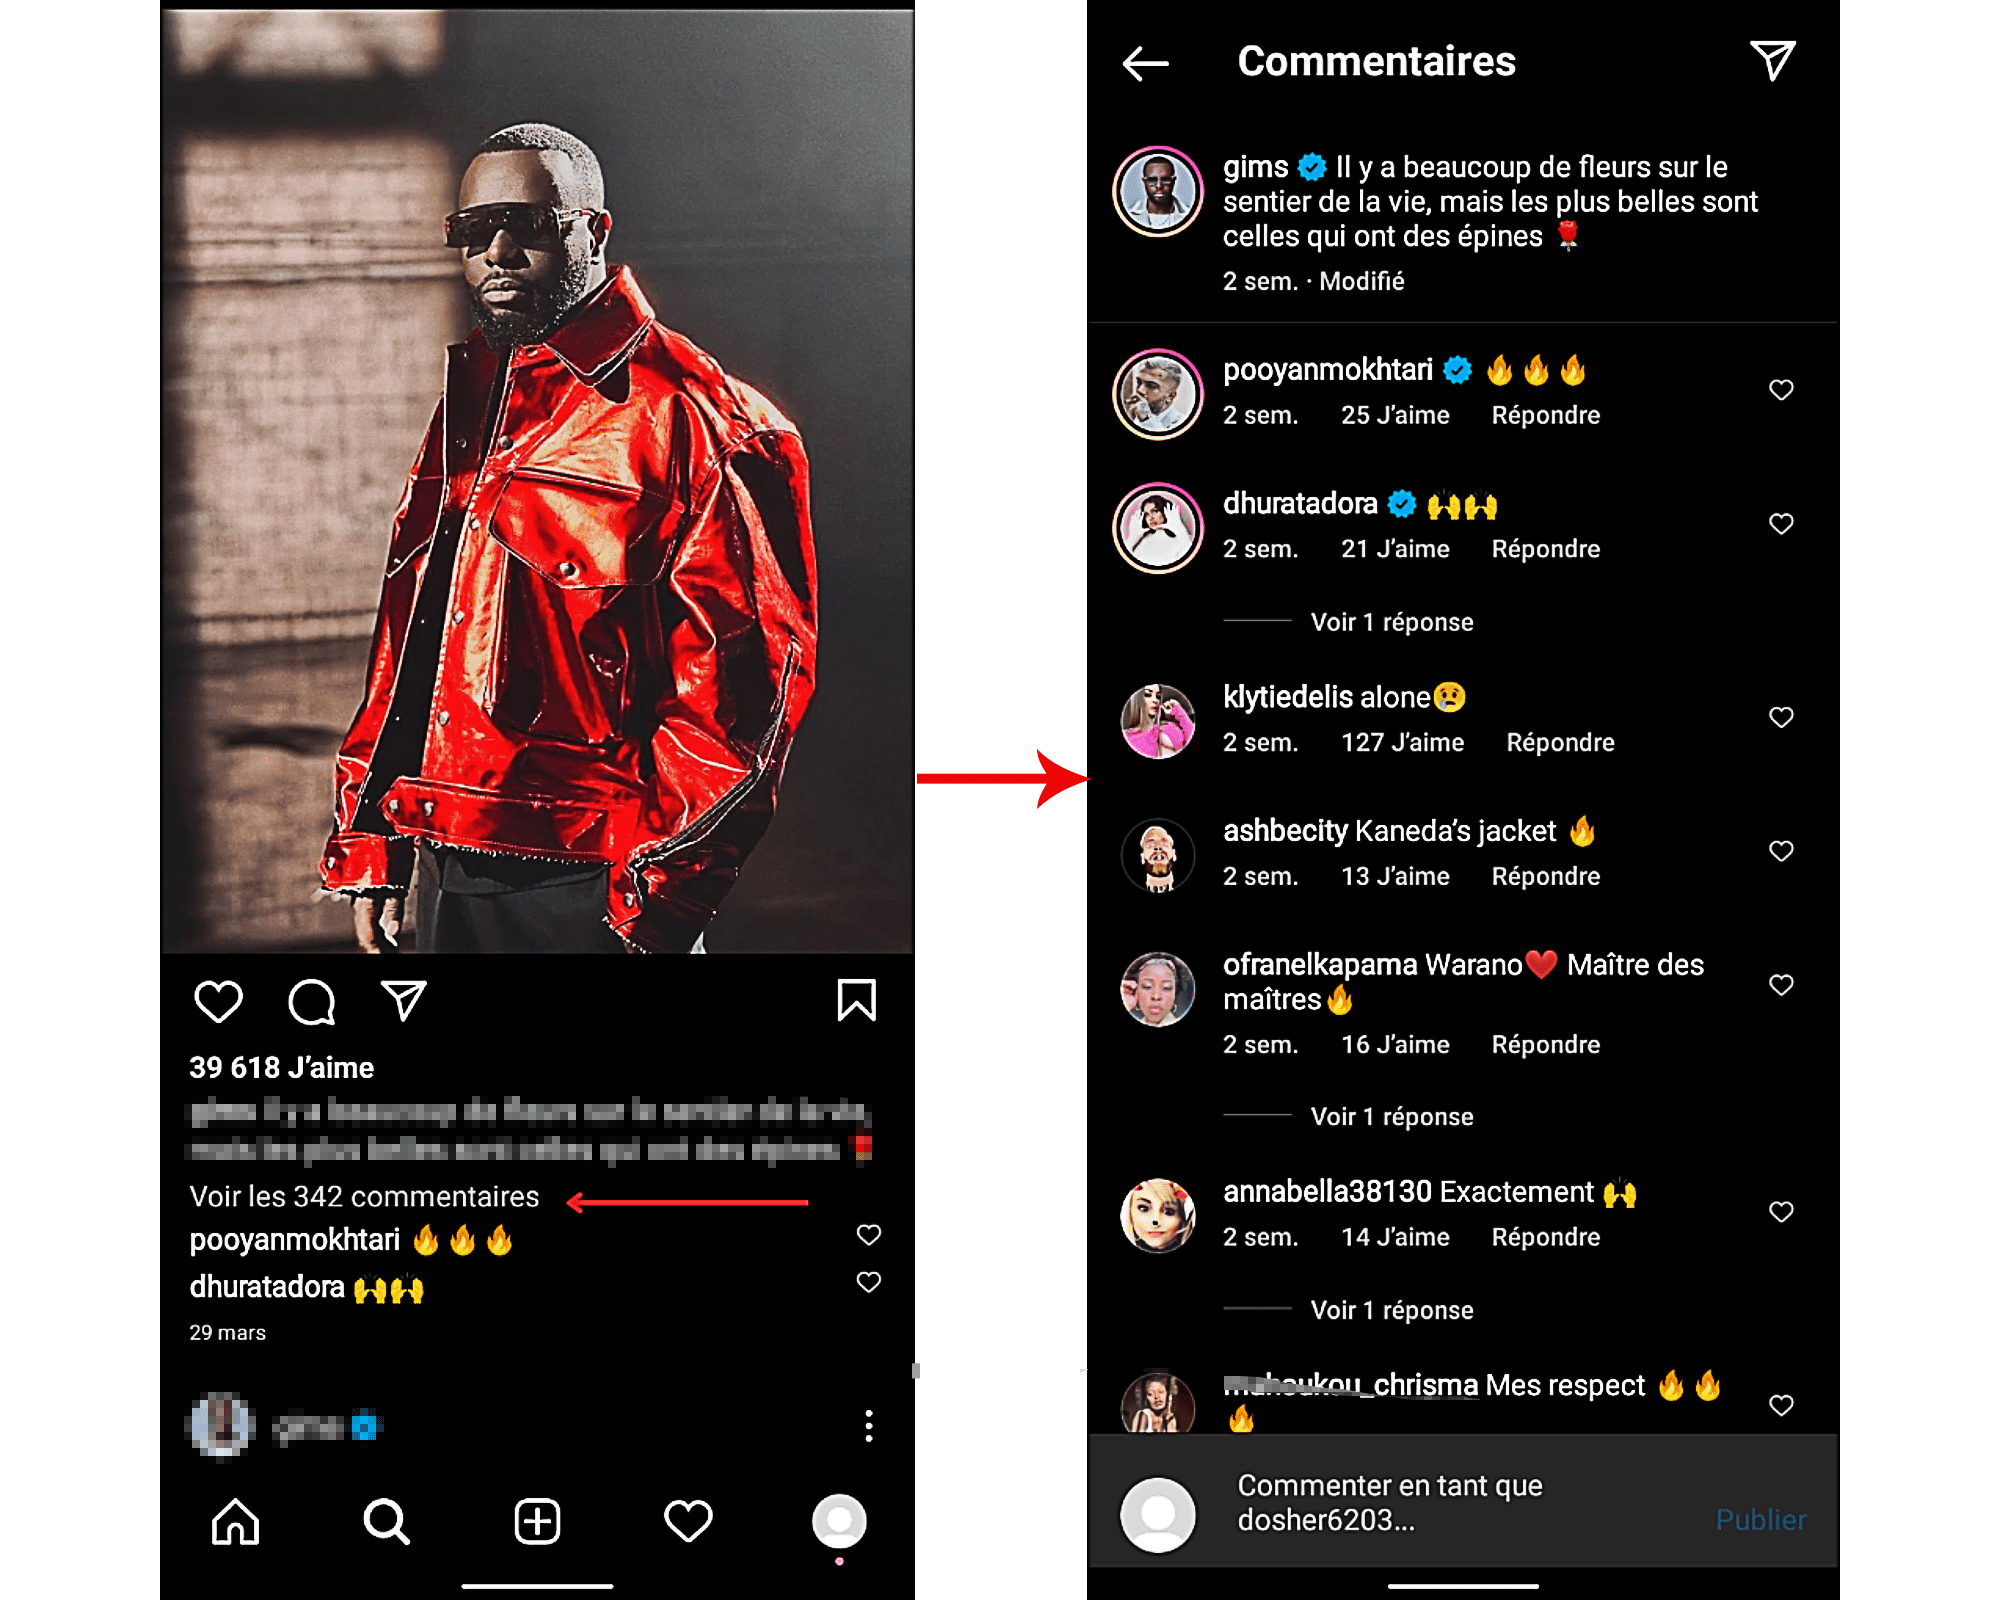
Once you are there, search there for the comment(s) you made from your official account. If it does not appear there, it means that the user has indeed restricted you on their profile.
Method 2: Find out if someone has restricted us through activity status
If the first method was not enough to convince you, you can additionally use the technique of checking Instagram user activity status. But for this you will need to enable the feature “ online status “. Here’s how you need to go about getting there.
- First you need to access your profile. To do this, click on the icon of your photo which is located in the lower part of the screen on the far right of the menu bar.
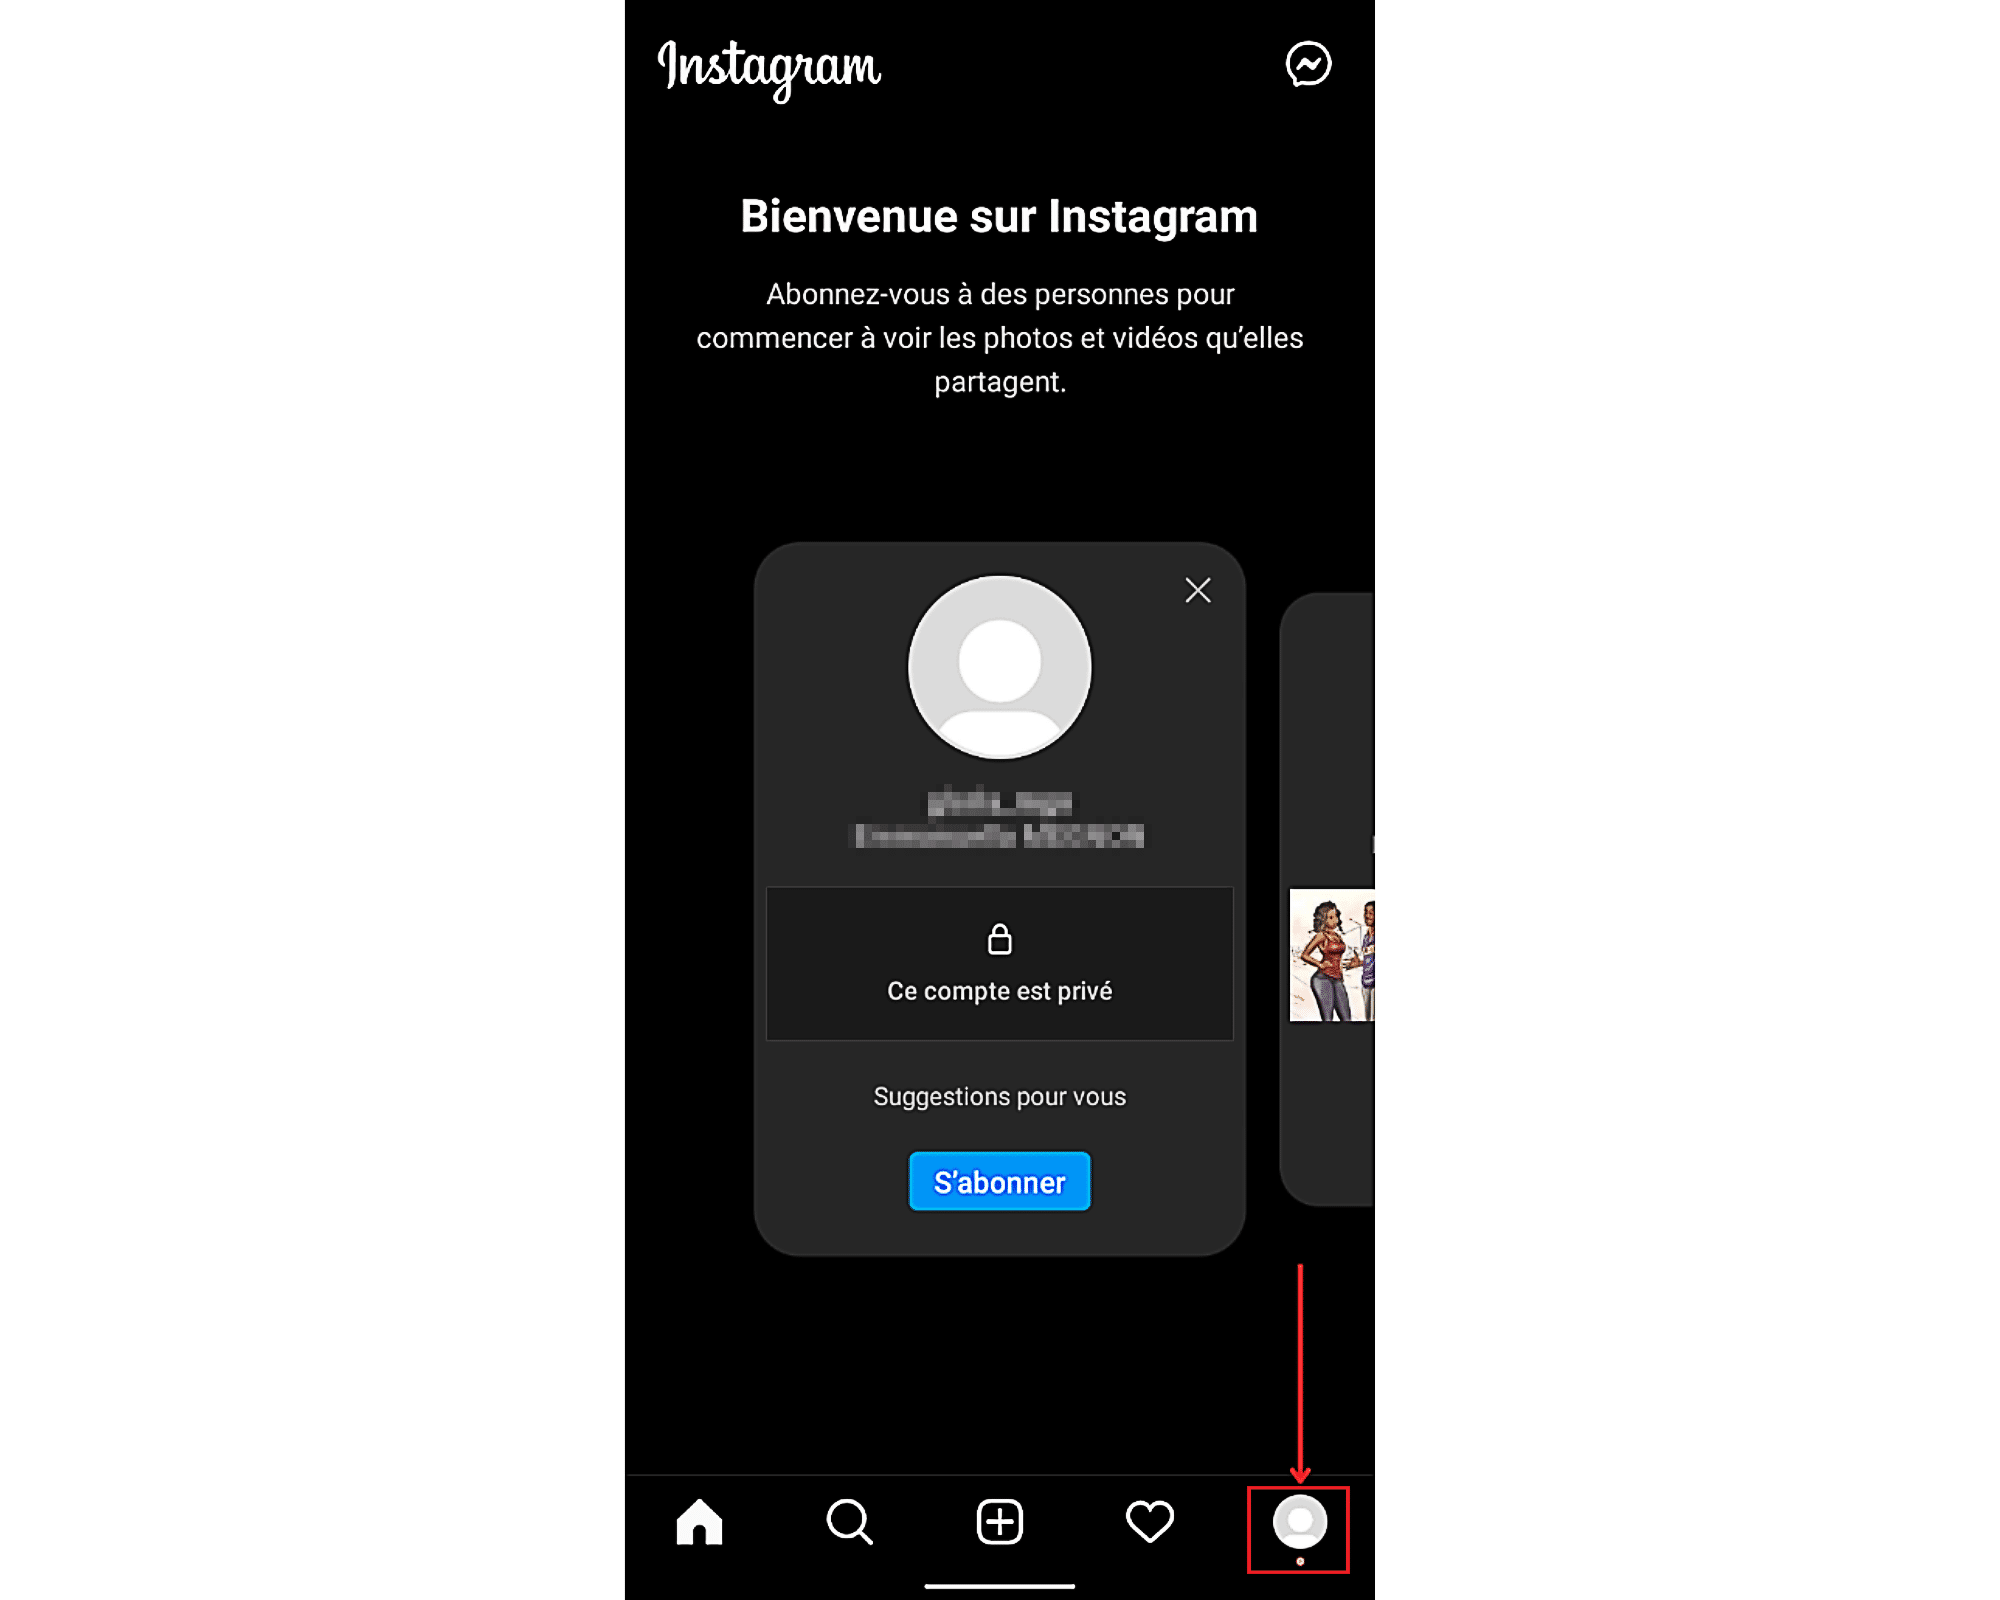
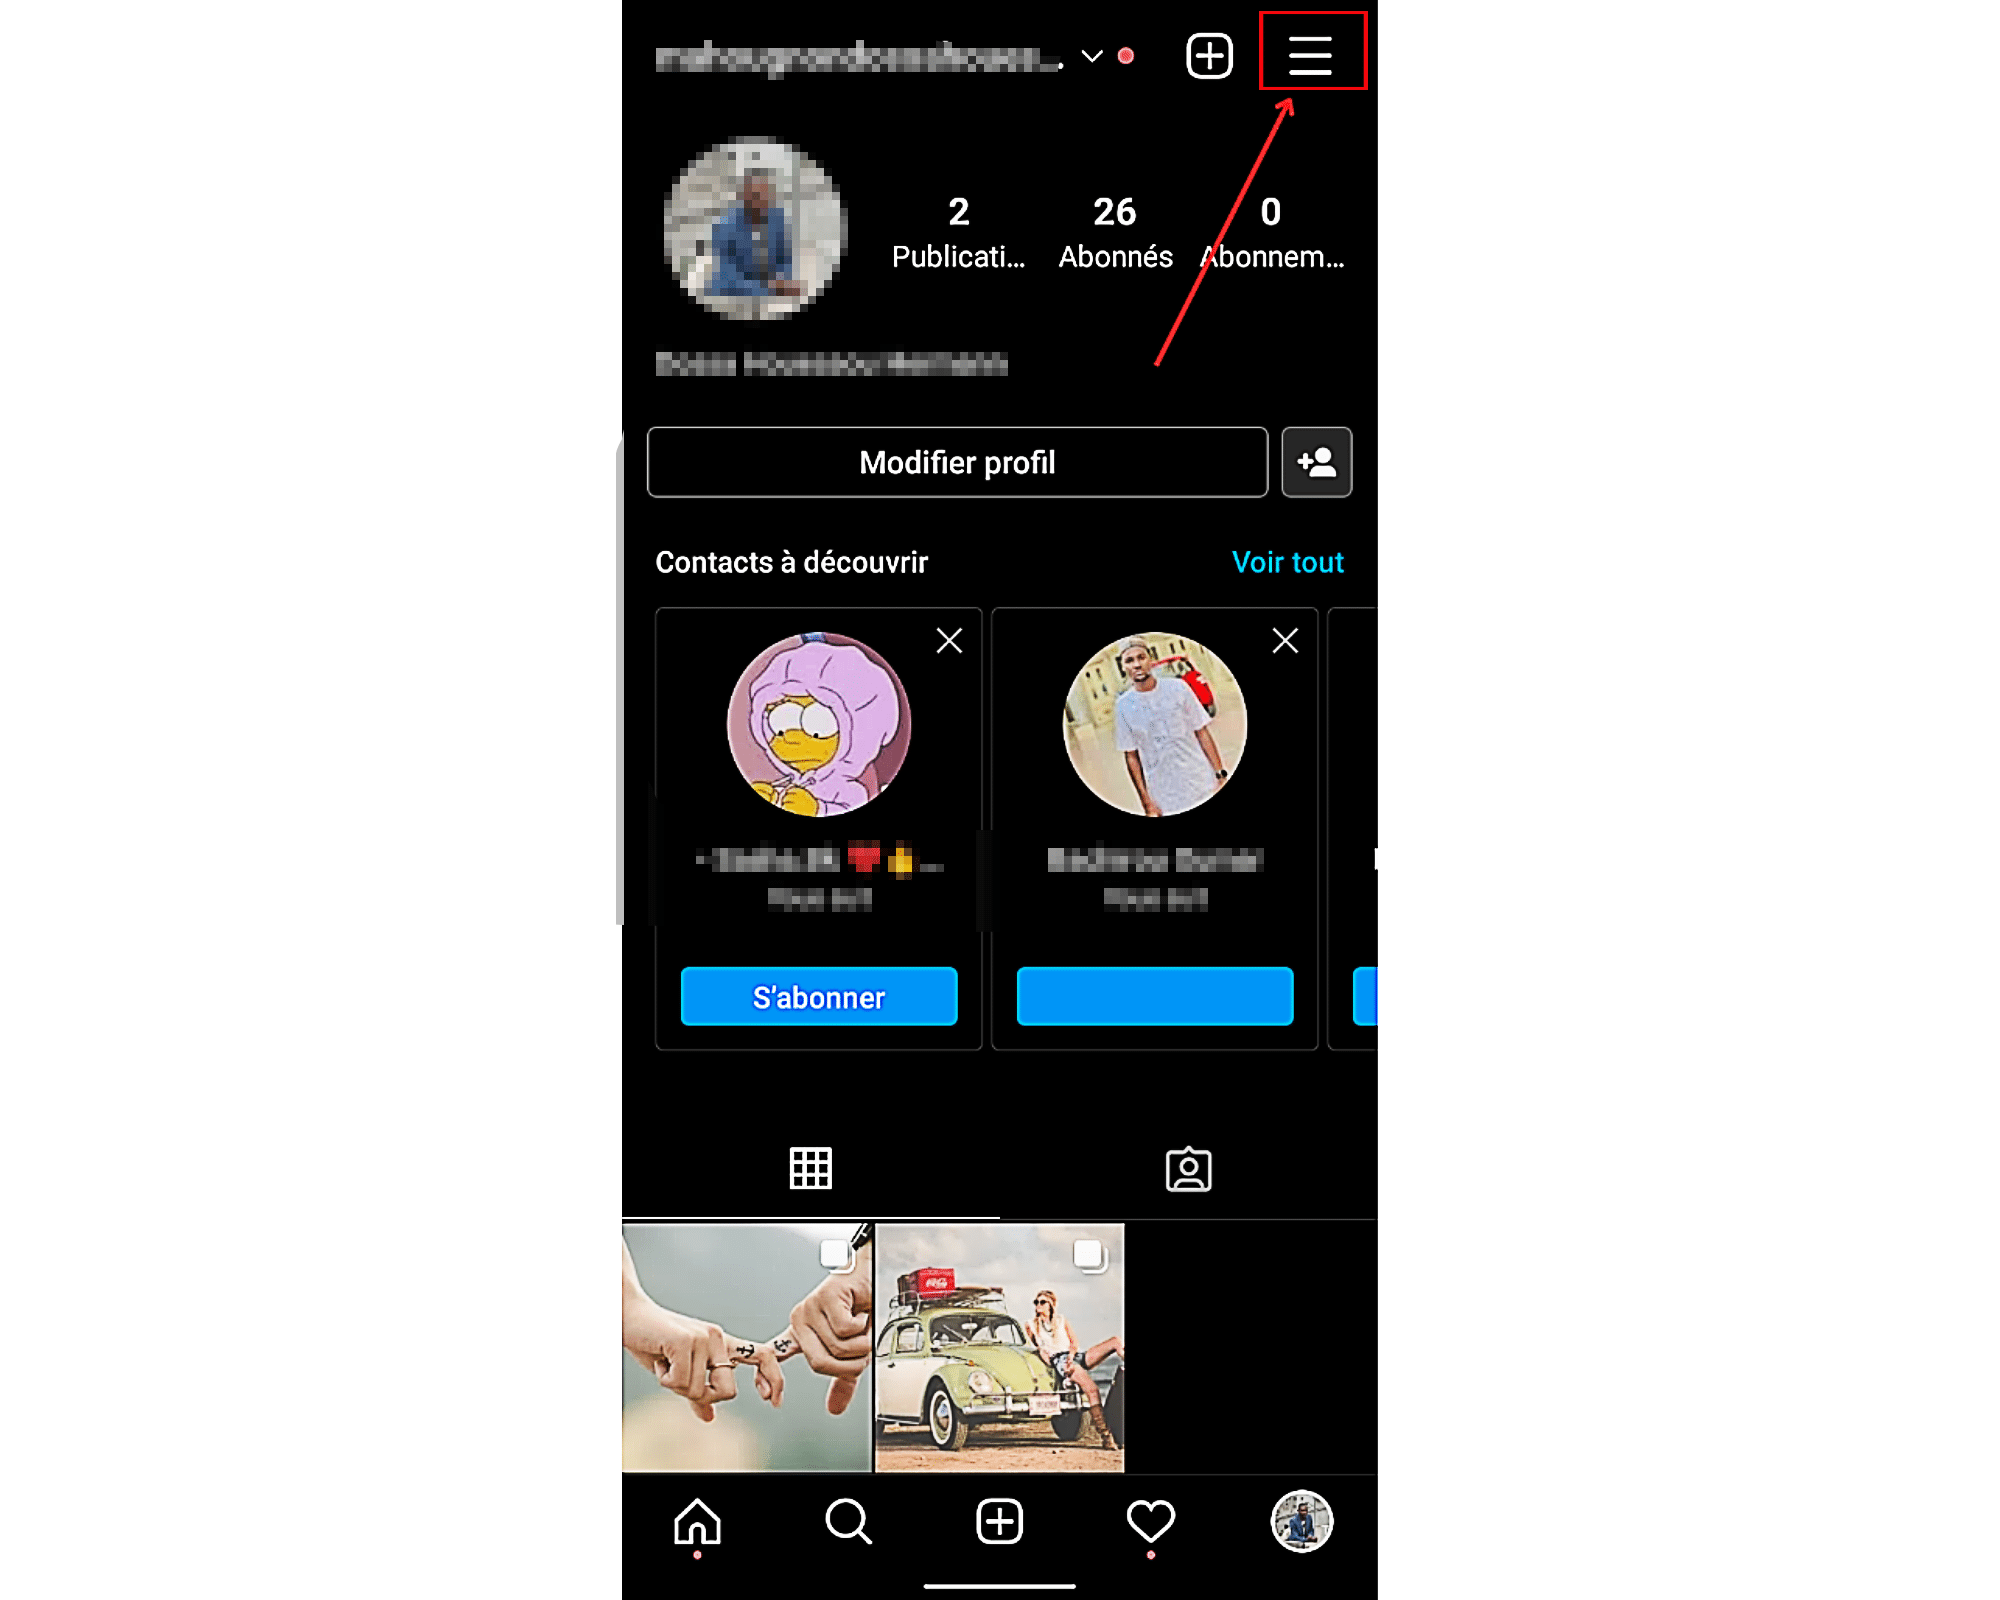
- Once on your profile, touch the three horizontal lines that are in the right tab to access the additional options of the page.
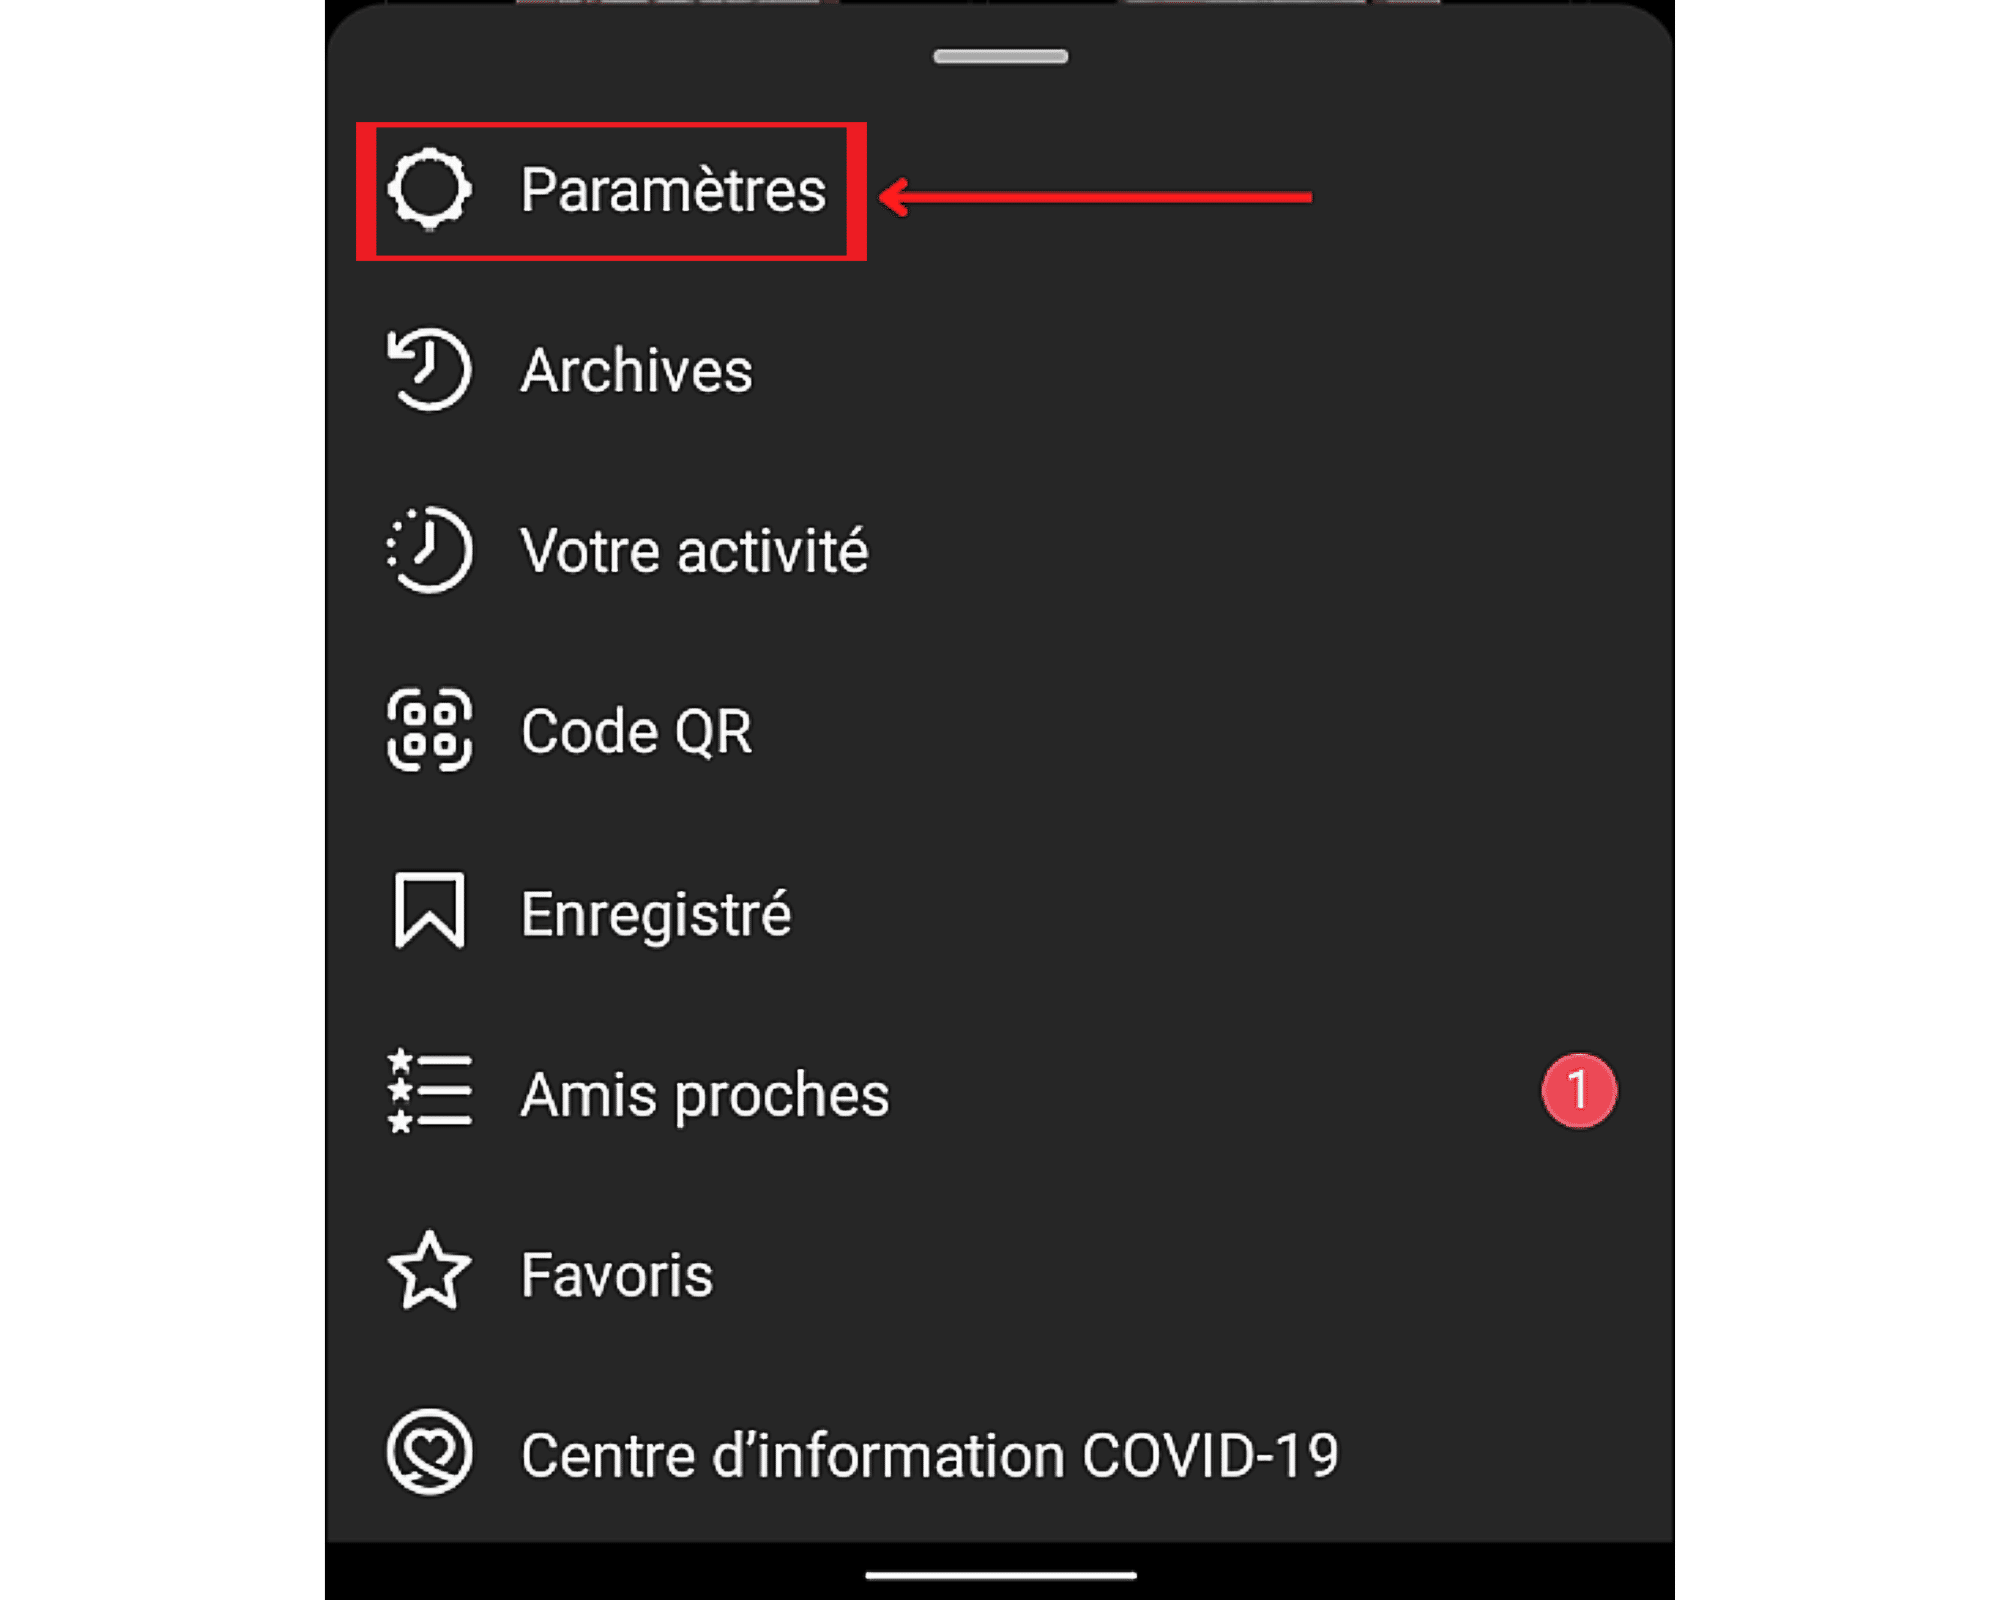
- Then in the pop up which has just been displayed, select the option ” Settings».
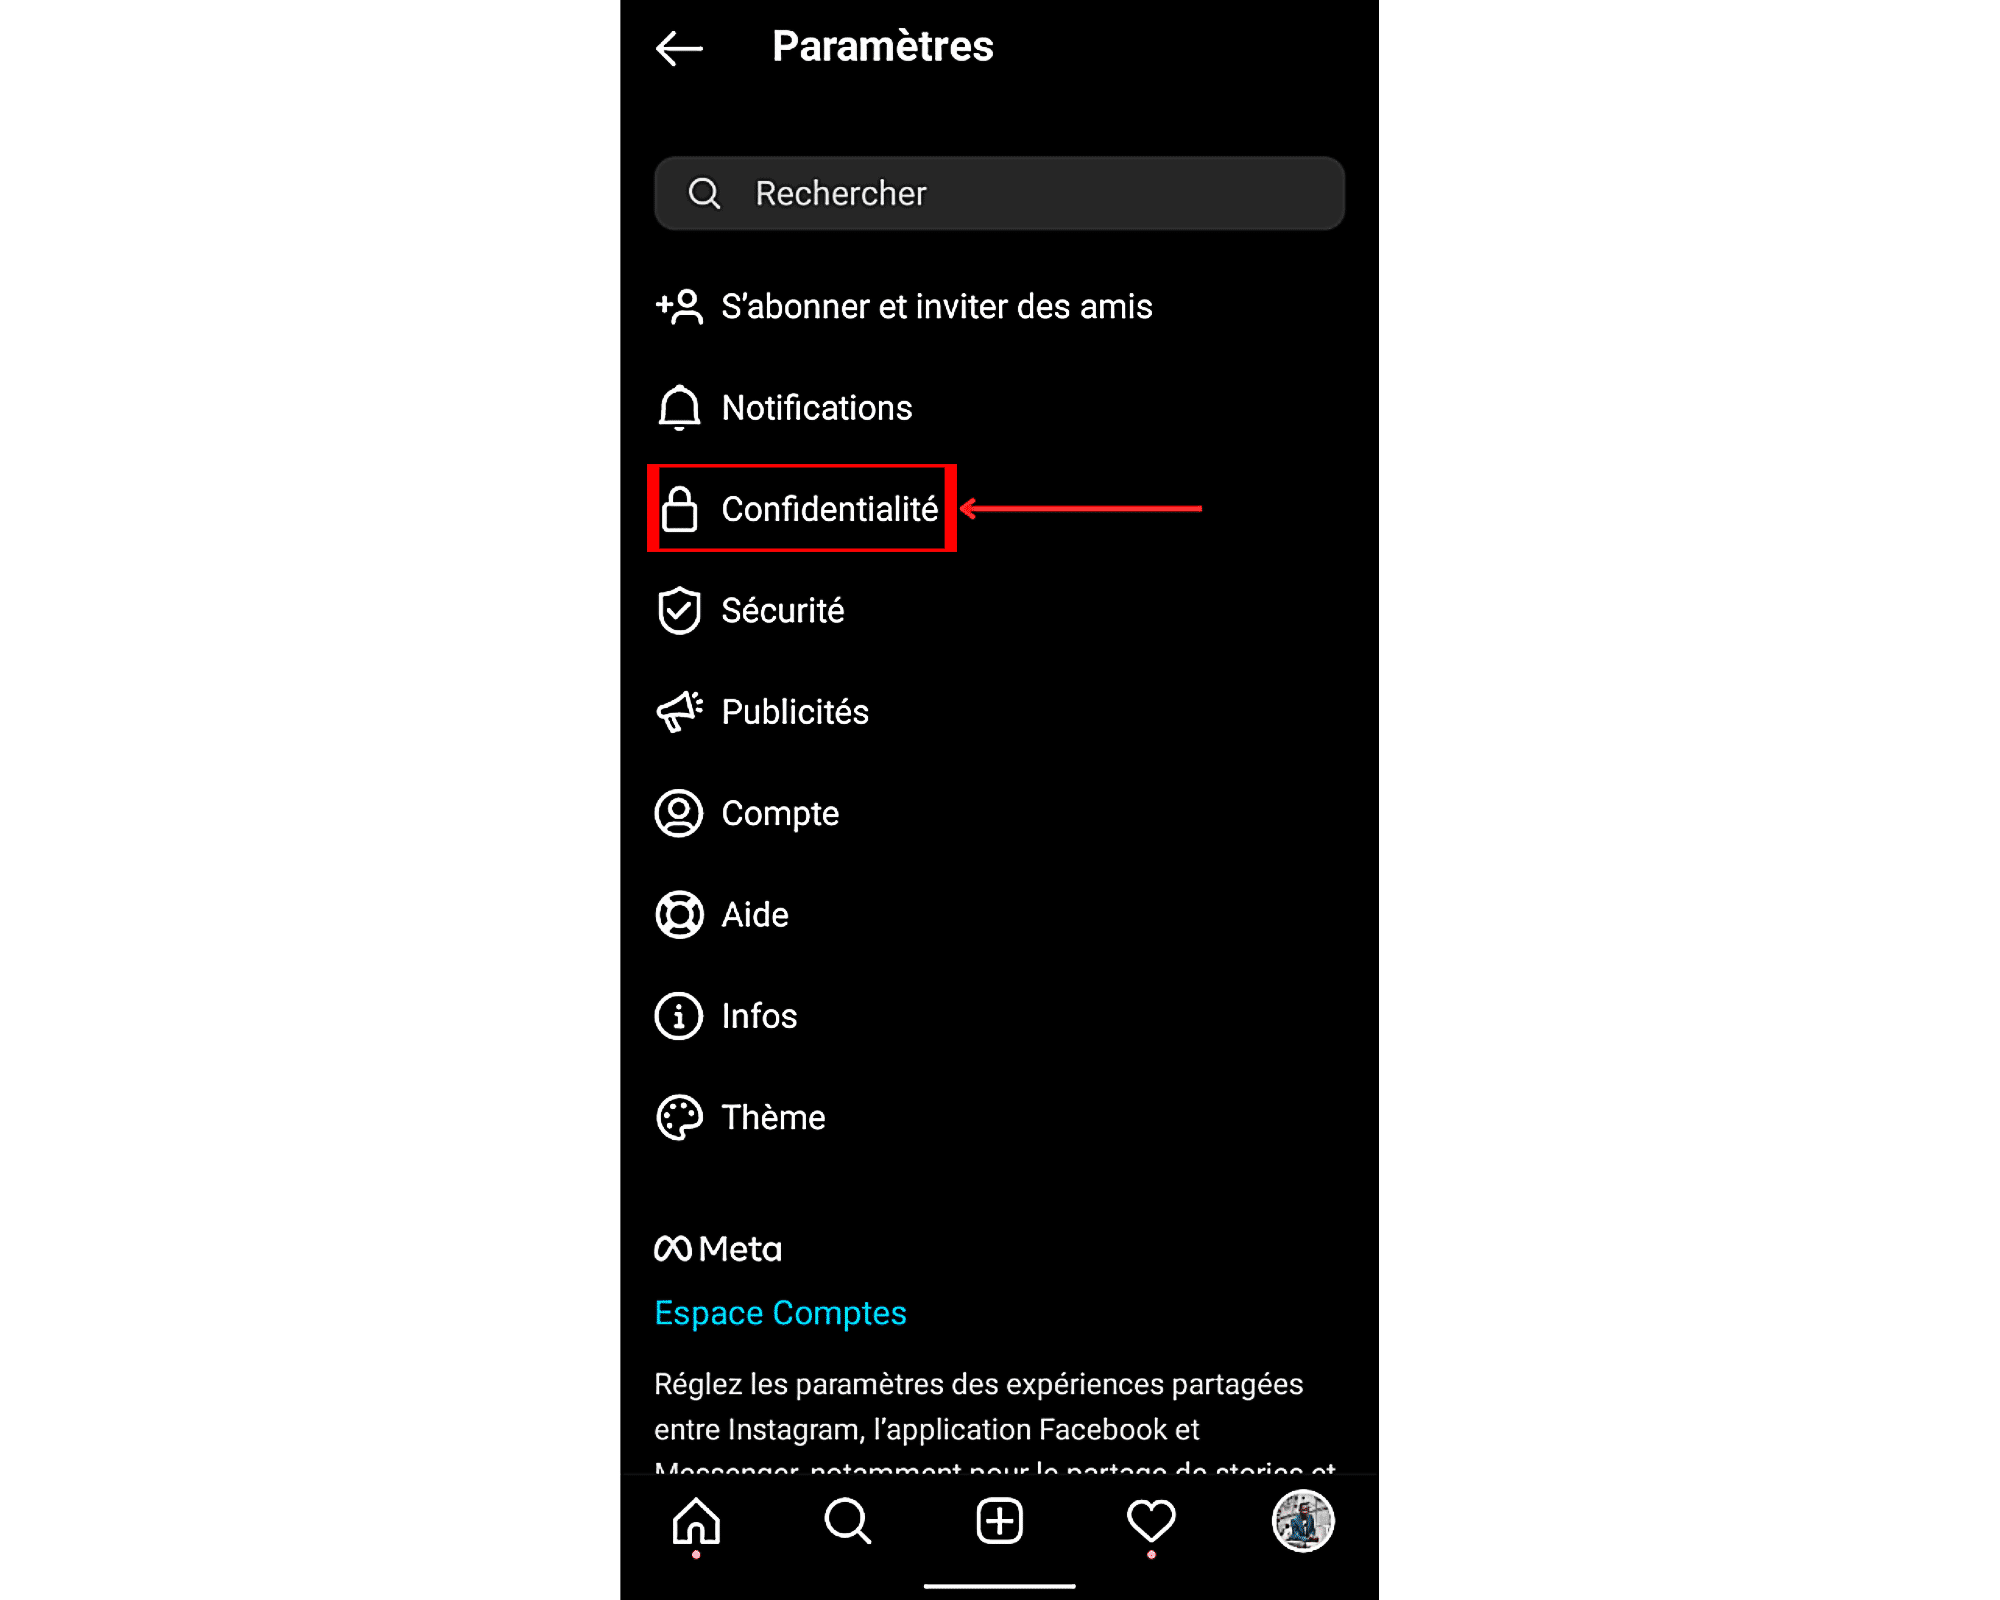
- Take a look at the list offered to you and choose ” Privacy».
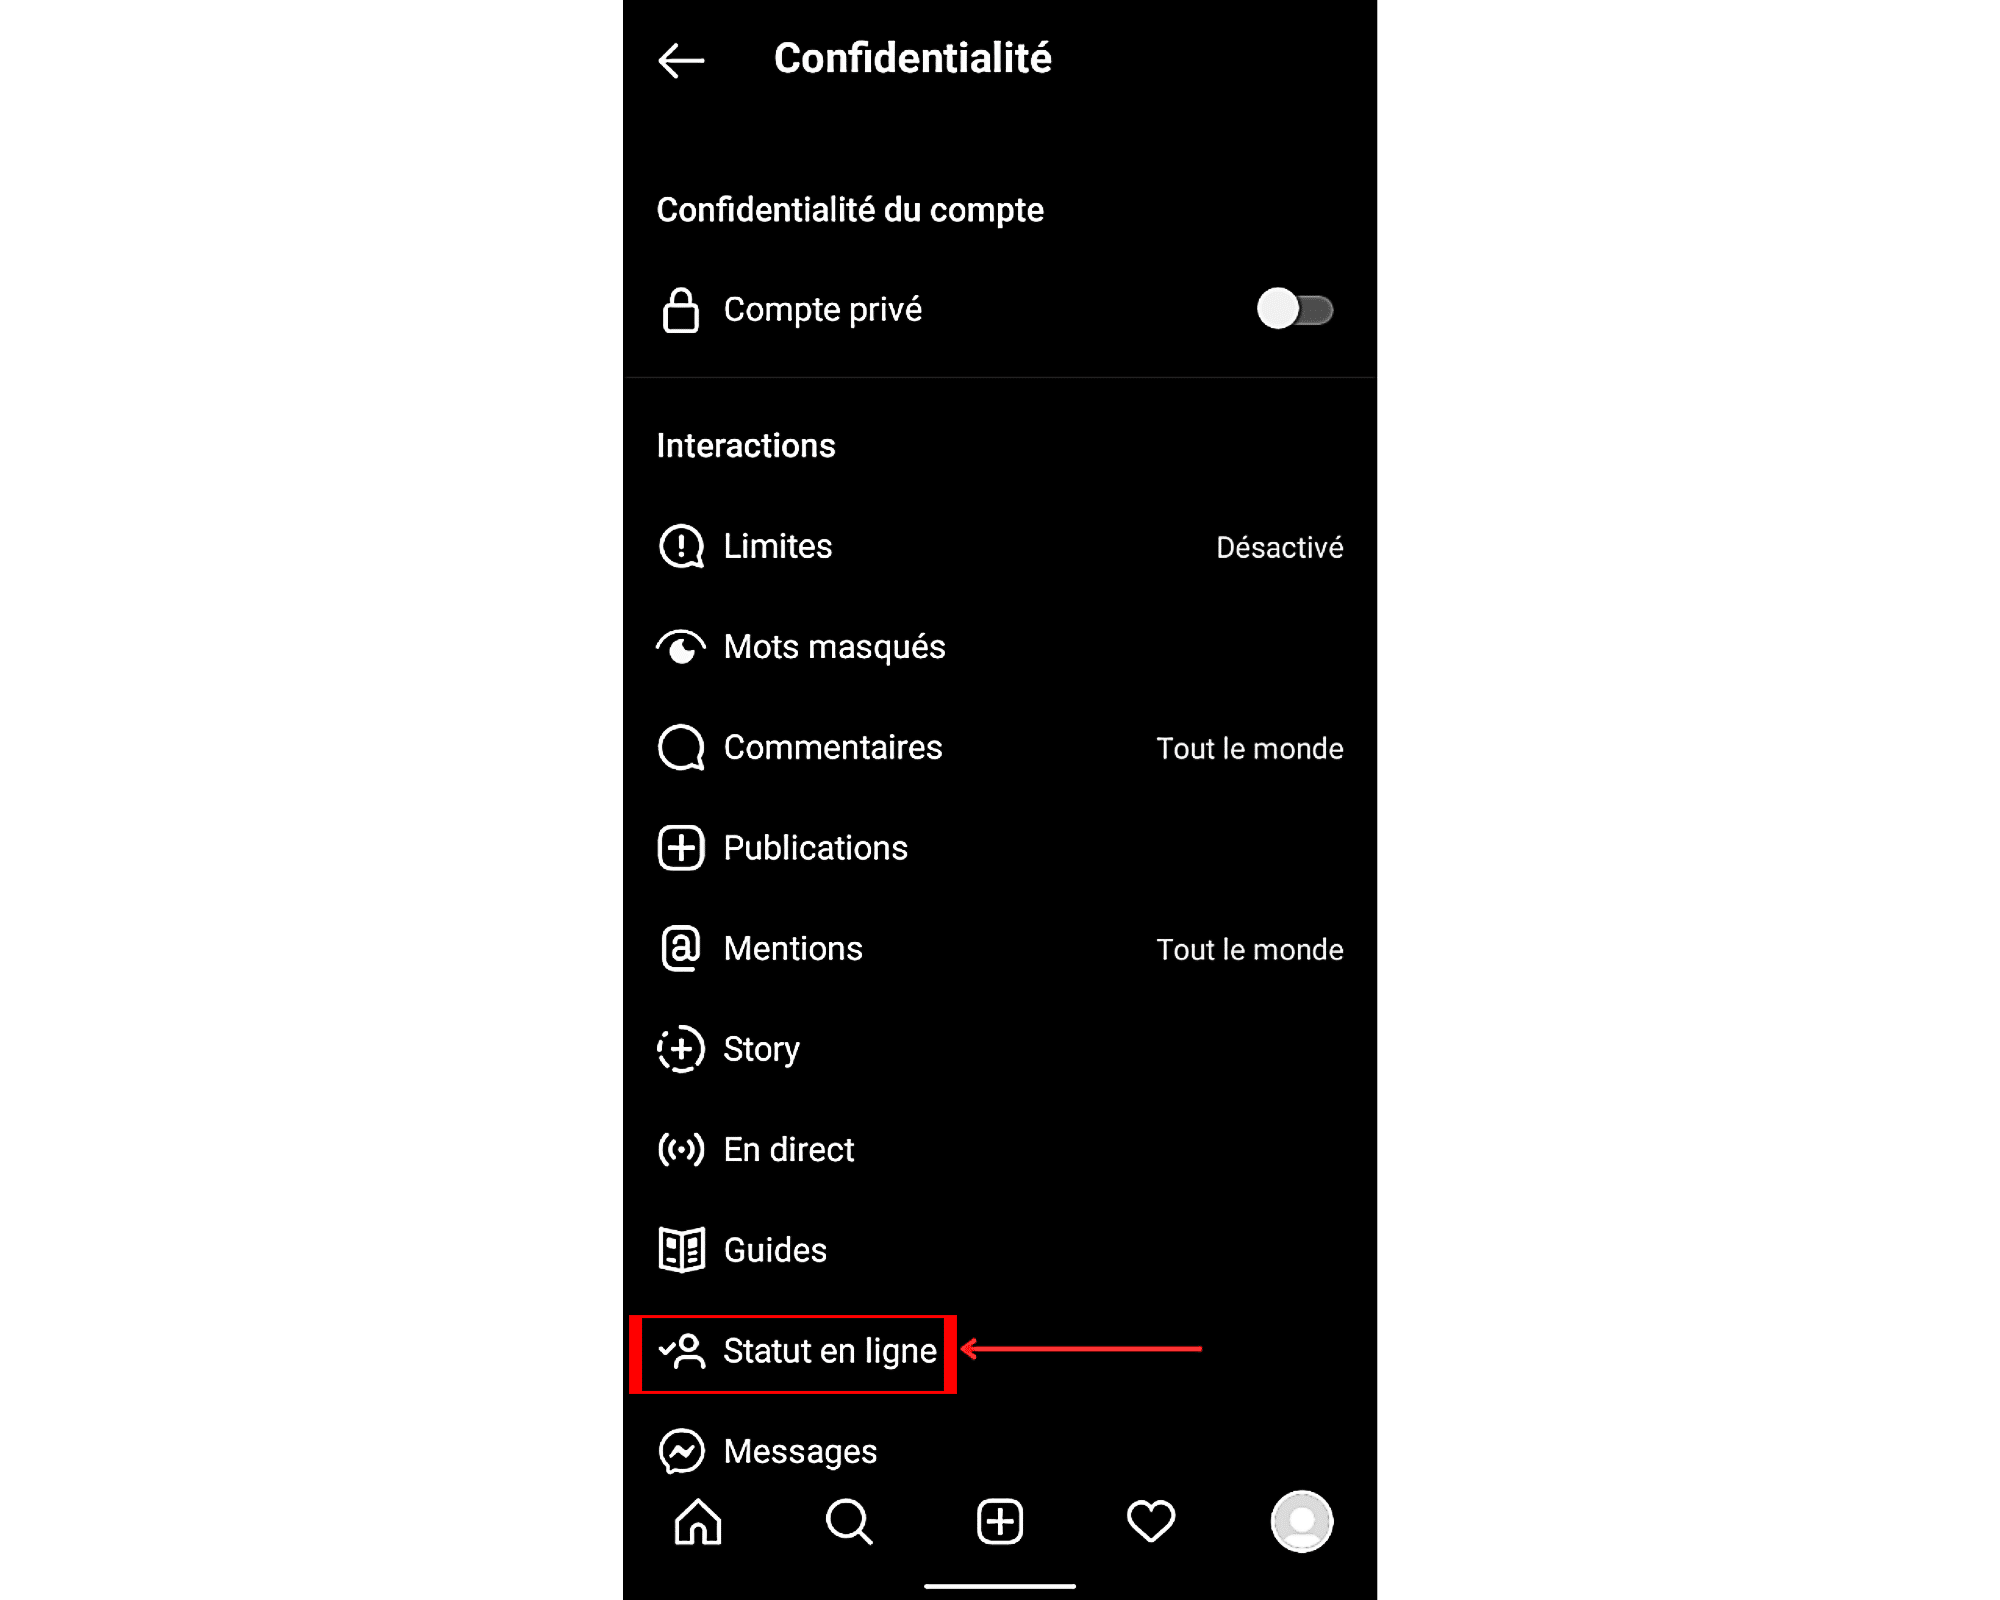
- On the new page that appears, you will find various features including the one to switch to a professional account. Look for ” online status“. This feature should be in the bottom section of the page. Depending on the screen size of your mobile device, you may need to swipe to reveal it. Once done, tap on the relevant option to access its settings.
- Once in the said settings, you will find a switch. This is placed in front of the option ” Show online status“. If the latter is gray, it means that you will not be able to see the online status of other users. All you have to do to change this setting is flip the switch to the right. To do this, touch it. It should normally turn blue upon successful activation.
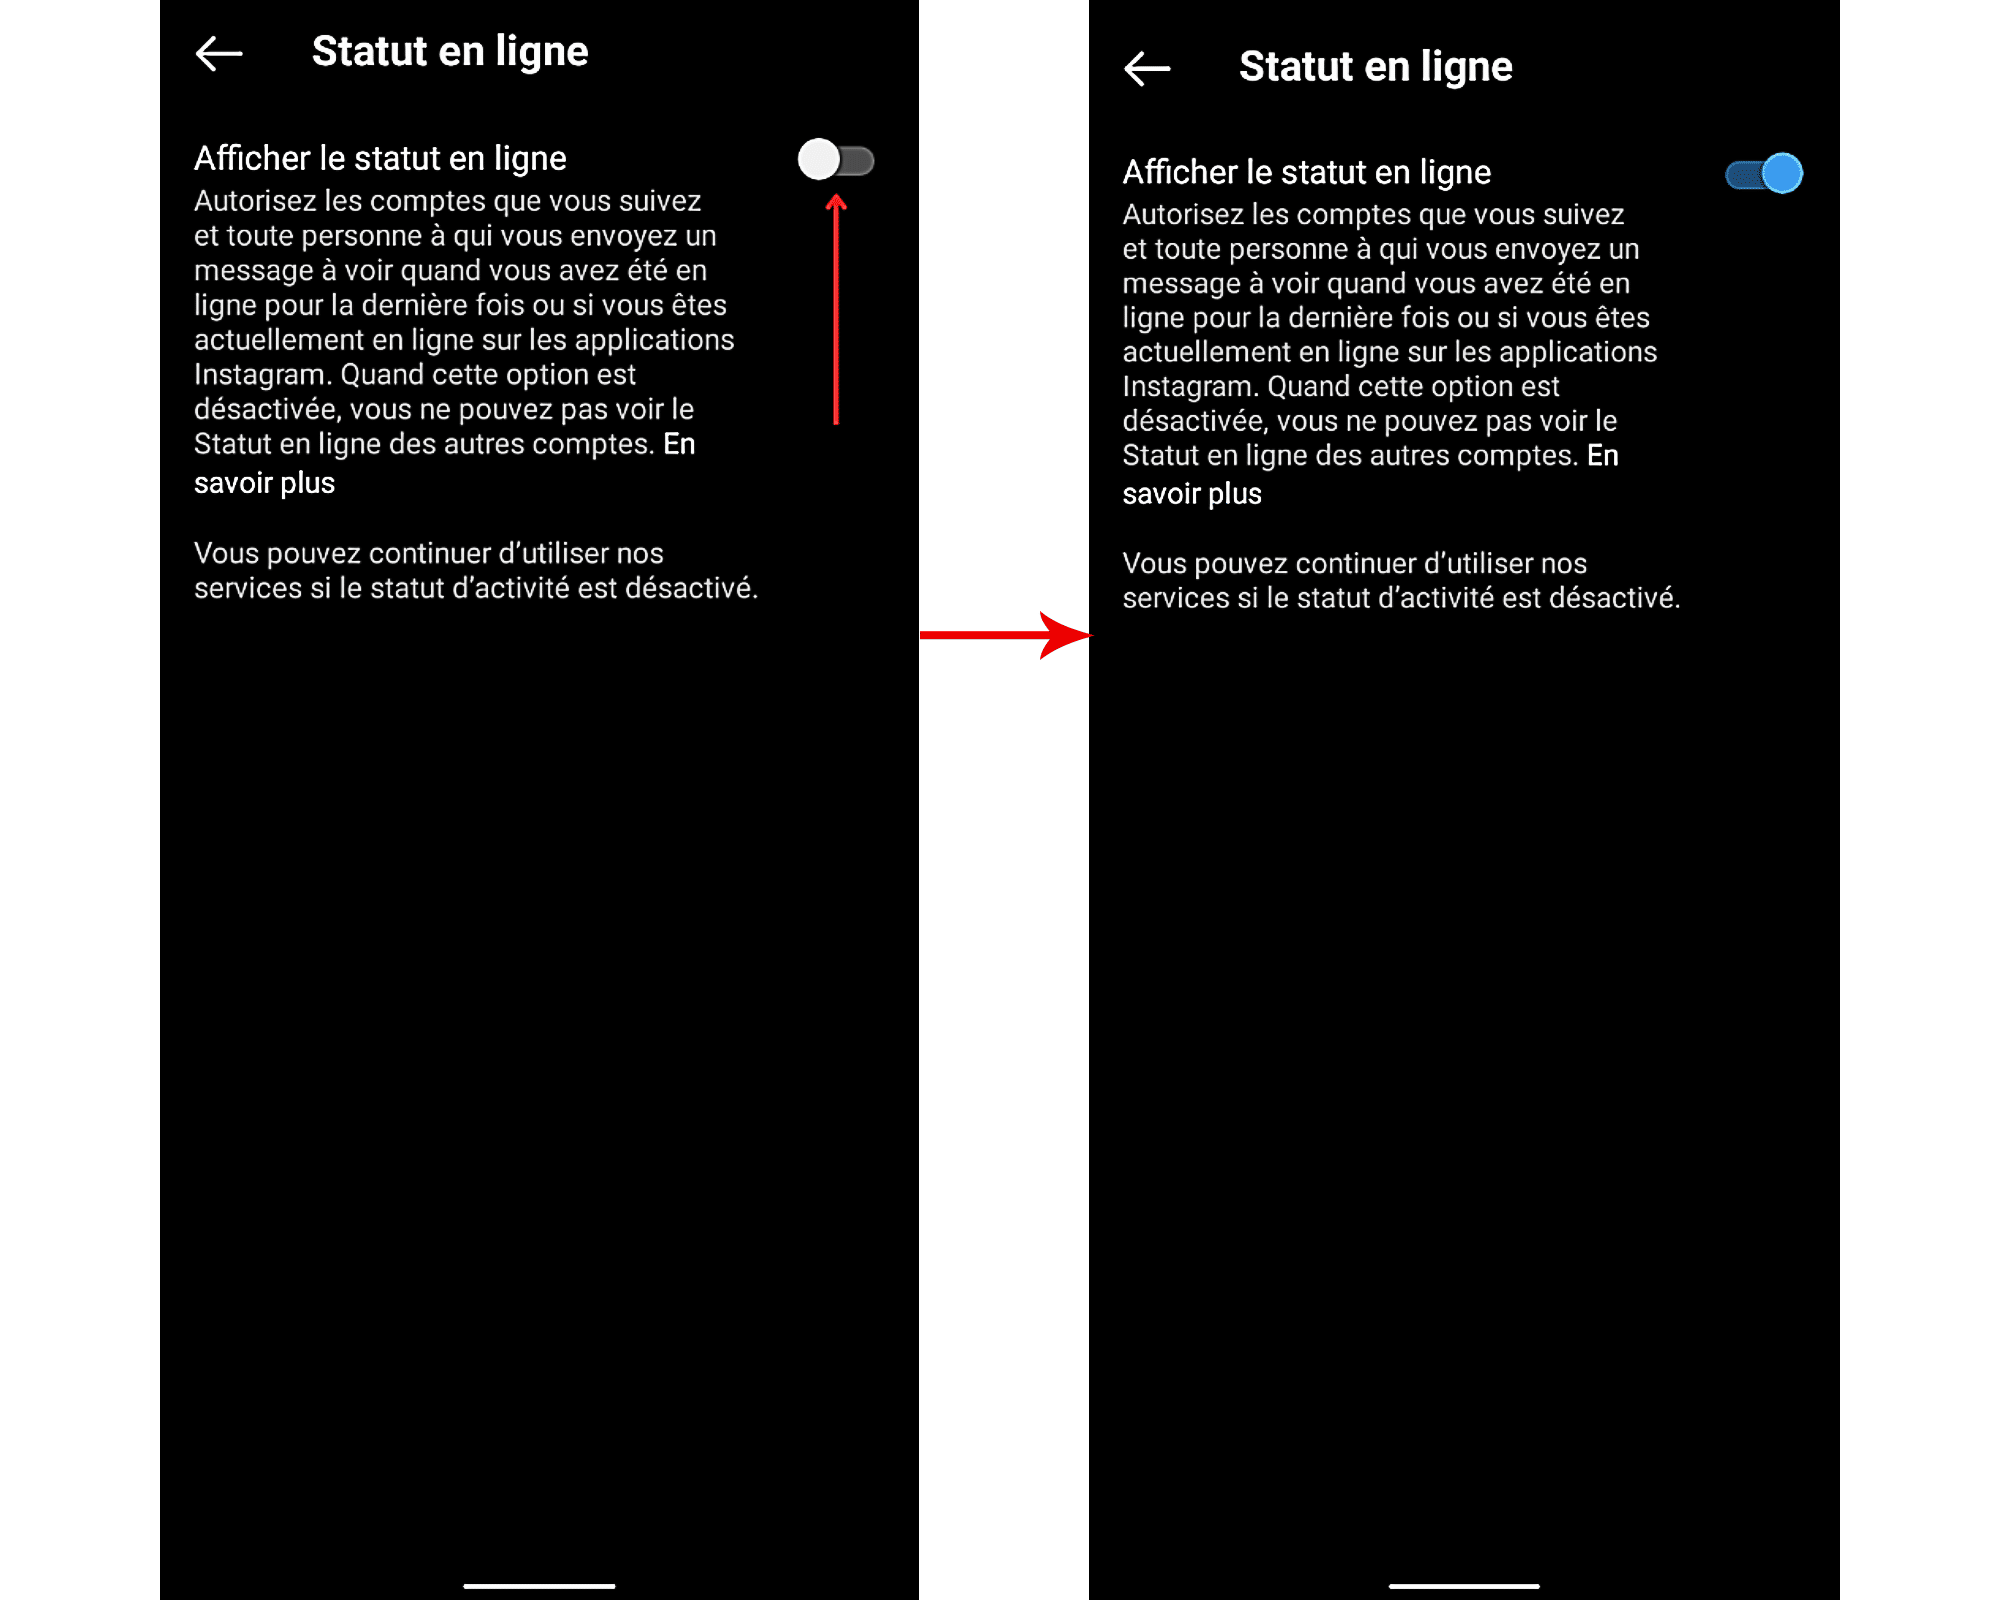
Once all these settings have been made, go back to their profile and leave them a message. If you can see the last time he was online, or if he is currently online, after sending your message, but he is not on your official account, then it means that it has restricted you on your official profile. If that doesn’t work, follow him and check your email again as soon as he accepts your subscription request.
–

/skyline-from-klyde-warren-park--dallas--texas--america-503596524-4c0d77a2894f46348a67c33f09d2d2bb.jpg)
