Learn more about Android:
Few things are as annoying as when the phone flashes uninteresting things, with no real assessment of how a notification relates to other notifications. Fortunately, there are fine-grained controls to make sure it only pings when you want it to.
Go to Settings, Notifications to start customizing how your phone will grab your attention. The first thing you can choose is whether you want a compact notice or a slightly more detailed one. The latter obviously takes up more space, but also offers more possibilities to interact with the notice in question.
The Notifications page shows which apps sent the most recent notifications, which is a nice feature since it’s probably an annoying notification that got you here. Here you can turn off notifications from these apps directly or you can press Wed to open App notifications– the sight.
Here you can see the most recent, but you can also choose to list all app notifications. It’s not a bad idea to go through this list, because most apps want to annoy you with new notifications every now and then, so turn off anything you don’t need.
If you choose to show everything in this view, you will see some notifications that cannot be turned off – they are mainly system services, so ignore them. You don’t have much choice, if something like this bothers you, you can just uninstall that app.
Do not disturb, thanks
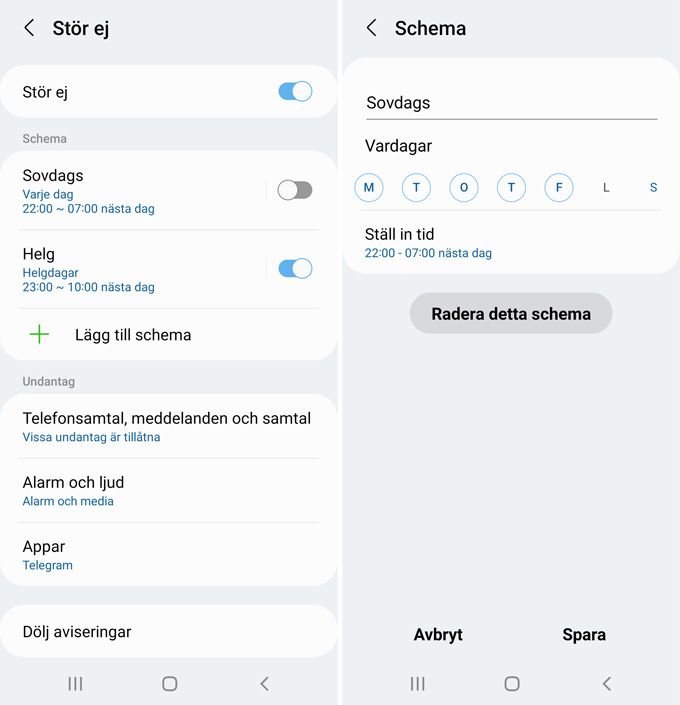
Another choice on Settings, Notifications that is worth watching is Do not disturb. Here you decide how Do Not Disturb should work and if it should be scheduled. Maybe you want it to turn on automatically every day of the week between 10pm and 7am the next day. You can create your own schedules for this, of course, so find the one that suits your usage.

Not wanting to be disturbed is not the same as not being able to be. Maybe you want your children, your partner, your family or someone else close to you to always reach you, even if your phone is in do not disturb mode. Then add their contact under exceptions. You can also choose to have repeat calls from the same person, but of course this is something that many telemarketing companies are familiar with, so they call twice in a row. Finally, you can also choose to let certain apps pass, regardless of whether Do Not Disturb is active or not. Particularly suitable if, for example, you have a chat app that you only use with loved ones.
See also Hide notifications, which can hide everything, including status bar icons (if enabled), when the phone is in do not disturb mode. The purpose of Do Not Disturb is not to be disturbed, and if you were to look at your phone and see that you have received a lot of notifications, the risk is obviously quite high that you will take a look at what happened.
This, in turn, can cause you to be disturbed, get stuck in something and this thwarts the function itself, so think about how you want to be disturbed when you really don’t want to be.
Advanced settings
Reach the view Advanced settings through Settings, Notifications. Here is a series of smaller settings to make notifications a little more personal.
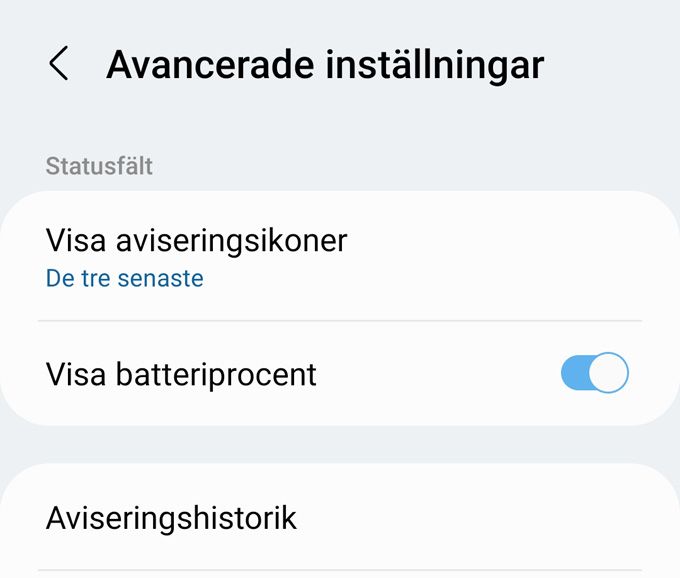
The status bar, of course, is the surface at the top, where you see the clock, some icons, the Wi-Fi icon, reception, the amount of battery left, things like that. In the advanced settings, you can turn off the battery percentage, which some people like to do because it can be stressful to see it go down all the time.

You can also choose how many so-called notification icons should be displayed. So they are the ones on the far left, next to the clock: the icons of the apps that sent the latest notifications. You can change that to be a number of how many notifications you have, which of course can be a bit stressful. So it might be better to disable the feature altogether, the choice is yours.
The exact settings on this screen depend a little on the manufacturer of the mobile you have. You will surely have the settings to know if a small icon should appear on apps that have sent notifications (app icon badge), if they need to be postponed (i.e. postponed until a little later) and if you should receive reminders again if they have not acted on the notification. Maybe you also have settings for mobile notifications.
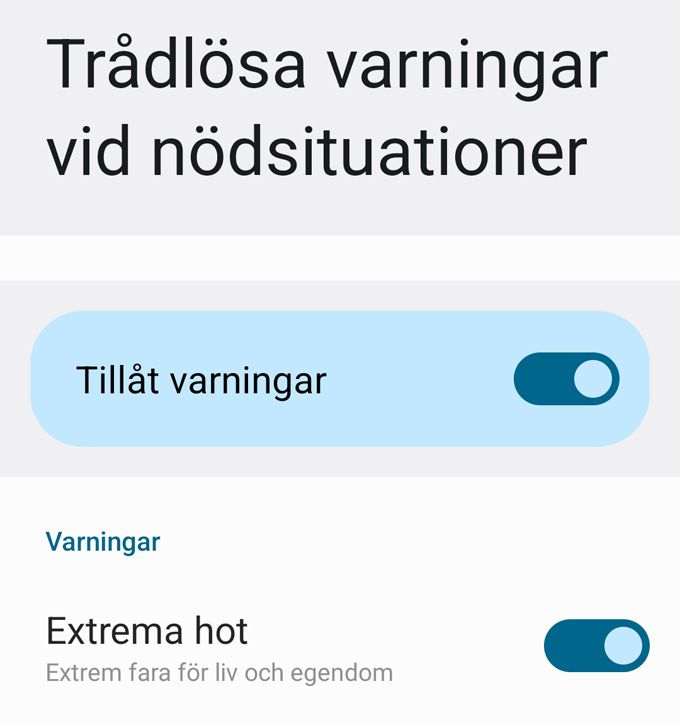
Finally, take a look at the wireless emergency call alert option Wireless emergency alarms at the bottom of Advanced Settings. It’s not a feature we had direct use for in Sweden, which of course we should be happy with, but it’s a good idea to leave it on, because who knows what will happen in the future?

The idea with this type of alert is that you should be able to get an alert over the phone if something is going to happen in your location, which of course is not only in Sweden, but in other countries as well. It could be anything from dangerous weather to invasions, so leave it on just in case. I hope you will never receive such a notice.


/cloudfront-eu-central-1.images.arcpublishing.com/ipmgroup/TB6RBRRB7ZFTLE2HFN72AKZUV4.png)